How to Disassemble Office Chair Step by Step Guide
Learn how to disassemble office chair step by step guide with easy instructions, tools needed, and safety tips for moving or repair purposes.
Well, here's the thing about office chairs: they're fantastic when they're working, but boy oh boy, when it comes time to move, store, or fix 'em, you've gotta know your way around those bolts and screws! Whether you're relocating to a new office, trying to squeeze that bulky chair into your car, or just need to replace a wonky wheel, knowing how to disassemble office chair step by step guide is gonna save you tons of headache. Trust me, I've been there, wrestling with a stubborn chair that just wouldn't budge! This comprehensive guide will walk you through the entire process, making what seems like a daunting task as easy as pie.
Why You Might Need to Disassemble Your Office Chair
Before diving into the nitty-gritty, let's talk about why you'd even want to take apart your trusty throne in the first place. Moving to a new place tops the list, obviously. Those chairs, comfy as they are, can be real space hogs when you're trying to fit everything in a moving truck. Sometimes, you just need to replace a broken part, and wouldn't you know it, the manufacturer designed it so you've gotta take half the chair apart to get to that one tiny piece! Storage is another biggie; a disassembled chair takes up way less room in your garage or attic. Plus, giving it a deep clean becomes a whole lot easier when you can actually reach all those hidden nooks and crannies.
Tools You'll Need Before Starting
Alright, let's gather up the arsenal! You won't need anything too fancy, thankfully. Here's what you should have on hand:
Phillips head screwdriver (the one with the cross shape)
Flat head screwdriver (just in case)
Allen wrench set (most chairs use these bad boys)
Adjustable wrench or pliers
Rubber mallet (optional, but handy for stubborn parts)
Small container or zip-lock bags for screws and small parts
Camera or phone for taking reference photos
Work gloves to protect your hands
Clean cloth or paper towels
Pro tip: snap some photos before you start! Seriously, taking pictures from different angles will be your lifesaver when it's time to put everything back together. Been there, done that, learned the hard way!

Safety First: Preparing Your Workspace
Hold your horses! Before you start yanking things apart, let's talk safety. Clear out a nice, open area where you can work comfortably. Lay down an old sheet or cardboard to protect your floor from scratches and to catch any falling screws. Make sure you've got good lighting; squinting at tiny screws in dim light is no fun at all. If your chair has hydraulic parts, be extra careful, as these can be under pressure. Keep kids and pets away from your workspace, 'cause stepping on a loose screw or bolt is nobody's idea of a good time!
How to Disassemble Office Chair Step by Step Guide: The Main Process
Step 1: Remove the Wheels or Casters
Starting from the bottom up is usually your best bet. Most office chair wheels just pop right out when you give 'em a firm pull. Grab the wheel firmly near where it connects to the base and pull straight out. If they're being stubborn, try wiggling while pulling, or use that flat head screwdriver to gently pry where the stem meets the socket. Some fancy chairs might have wheels that twist off instead, so give that a try if pulling doesn't work. Once they're all out, toss 'em in your container so they don't roll away and hide under the couch!
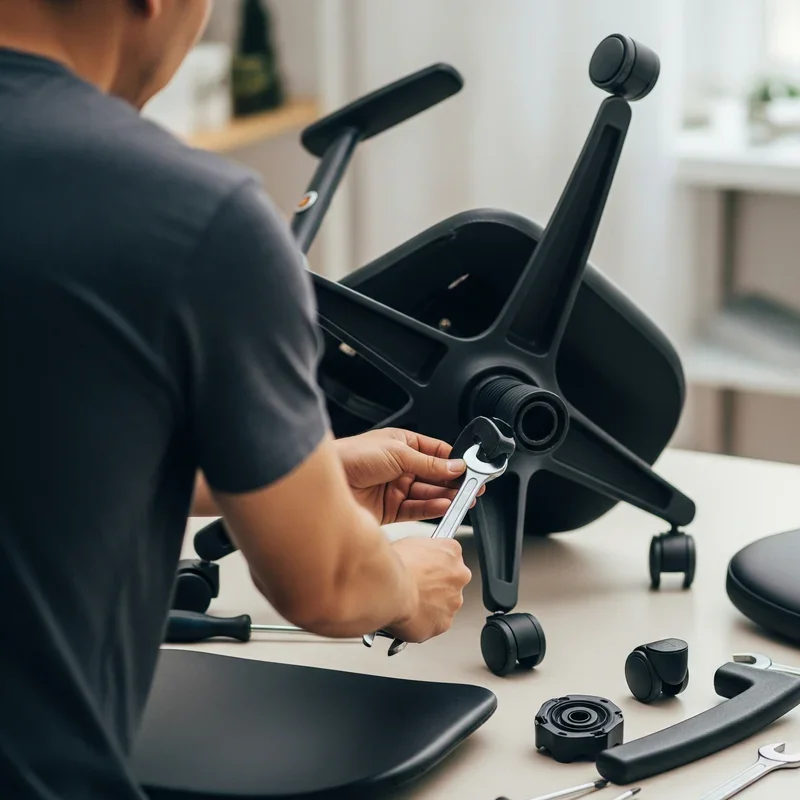
Step 2: Detach the Chair Base
Now comes the star-shaped base, that five-legged creature that keeps you rolling around the office. First, flip your chair upside down if you haven't already. Look for the cylinder that connects the base to the seat mechanism. There's usually a retaining clip or bolt at the bottom of the pneumatic cylinder. Remove this carefully; sometimes it requires a good whack with the rubber mallet to loosen things up. The base should then slide off the cylinder. If it's stuck (and boy, they often are after years of use), try spraying some WD-40 around the connection point and let it sit for a few minutes.
Step 3: Separate the Seat from the Backrest
This part varies quite a bit depending on your chair model, but generally speaking, you're looking for bolts or screws connecting these two main components. Check underneath the seat where it meets the backrest support. You'll typically find four to six bolts holding everything together. Use your Allen wrench or appropriate tool to remove these. Keep track of which bolts came from where; they're not always the same size! Some chairs have a tilt mechanism that needs to be removed first, so don't force anything if it's not coming apart easily.
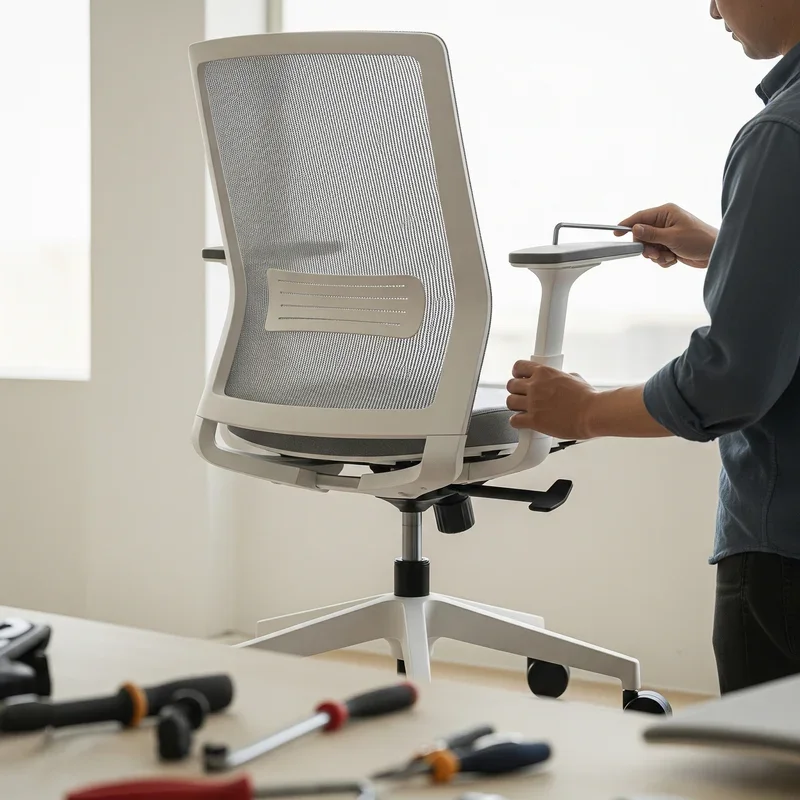
Step 4: Remove the Armrests
Armrests are usually pretty straightforward, thank goodness! Look underneath each armrest for the mounting bolts. These typically go straight up through the seat into the armrest assembly. Unscrew these bolts while supporting the armrest with your other hand so it doesn't fall and bonk you on the head. Some models have additional screws on the sides or back of the armrests, so give 'em a good once-over before you start unscrewing.
Step 5: Detach the Pneumatic Cylinder
Ah, the cylinder, the heart of your chair's up-and-down magic! This can be the trickiest part, not gonna lie. The cylinder is usually pressed into the seat mechanism and can be really stubborn. First, remove any bolts or clips securing it to the seat mechanism. Then, you might need to use the rubber mallet to tap it out from below. Place a block of wood against the cylinder before hammering to avoid damage. Sometimes, turning the cylinder while pulling helps break the seal. If it's really stuck, applying heat with a hair dryer can help expand the metal slightly.
Step 6: Dismantle the Seat Mechanism
The seat mechanism, that plate underneath your seat that controls tilt and height adjustment, usually comes off with four bolts connecting it to the seat cushion. These bolts are often hidden under plastic caps, so pop those off first. Once you've removed the bolts, the mechanism should lift right off. Be careful though; these mechanisms can be heavy and have sharp edges!

Organizing and Labeling Parts
Here's where being organized pays off big time! As you remove each component, place it in a labeled bag or container. I like to use masking tape and a marker to label everything: "left armrest bolts," "wheel stems," "seat mechanism screws," you get the idea. Trust me, when you're ready to reassemble, you'll thank yourself for this extra step. Taking a photo of your organized parts is another smart move!
Common Challenges and Solutions
Let's be real; things don't always go smoothly. Stuck screws are probably the most common headache. If you encounter one, try applying penetrating oil and letting it sit for a while. Stripped screw heads are another pain; sometimes you can get them out with a rubber band placed between the screwdriver and the screw head for extra grip. If parts seem frozen together, gentle tapping around the edges with a rubber mallet often helps. Whatever you do, avoid using excessive force; that's how things break!
Cleaning and Maintenance While Disassembled
Since you've got everything apart anyway, why not give everything a good cleaning? Wipe down all metal parts with a damp cloth, clean out any dust bunnies hiding in crevices, and maybe add a drop of oil to moving parts. Check the wheels for hair and debris wrapped around the axles. This is also the perfect time to inspect parts for wear and tear. See any cracks, rust, or excessive wear? Now's the time to order replacements!
Tips for Reassembly
When you're ready to put Humpty Dumpty back together again, work in reverse order from how you took it apart. Start with the seat mechanism, then add the cylinder, attach the base, and so on. Don't fully tighten bolts until everything is in place and aligned properly. This gives you some wiggle room for adjustments. Refer to those photos you took (you did take photos, right?) and your labeled parts. Take your time; rushing this part often leads to cross-threaded screws or misaligned parts.
When to Call a Professional
Sometimes, despite our best efforts, we need to wave the white flag and call in the pros. If you encounter hydraulic fluid leaks, electrical components in motorized chairs, or severely damaged parts that need welding or specialized tools, it's time to bring in someone with the right expertise. There's no shame in knowing your limits!
Conclusion
Taking apart an office chair might seem intimidating at first, but armed with the right tools and this how to disassemble office chair step by step guide, you're all set for success! Remember, patience is key, organization is your friend, and taking photos will save your sanity. Whether you're moving, repairing, or just doing some deep cleaning, knowing how to properly disassemble your chair is a valuable skill that'll serve you well.
Read next: 15 Rustic Office Ideas for a Warm and Inviting Workspace
Frequently Asked Questions
Q1: How long does it typically take to disassemble an office chair?
A: Usually takes about thirty to forty-five minutes for most standard chairs.
Q2: Can I disassemble my chair without any special tools?
A: Basic screwdrivers and Allen wrenches usually do the trick nicely.
Q3: Is it safe to disassemble a chair with a gas cylinder?
A: Yes, just avoid puncturing or damaging the cylinder itself.
Q4: Will disassembling my chair void the warranty?
A: Check your warranty terms; some allow it, others don't.
Q5: Should I lubricate parts before reassembling the chair?
A: Light lubrication on moving parts helps everything work smoothly.
Stay up to date with our latest ideas!