How to Remove Cylinder from Office Chair for Easy Repair
Learn how to remove cylinder from office chair for easy repair with our simple guide. Fix your wobbly chair today with basic tools and steps.

You know that sinking feeling when your office chair starts acting up? One minute you're sitting at the perfect height, and the next you're practically on the floor. Been there, done that. The culprit is usually a faulty gas cylinder, and here's the good news: you don't need to be a mechanical wizard to fix it. Learning how to remove cylinder from office chair for easy repair isn't rocket science, though it might seem a bit intimidating at first glance. Trust me, with a little elbow grease and the right approach, you'll have that chair back in action before you know it. This guide walks you through the entire process, from gathering your tools to testing your newly repaired chair.
Understanding Your Office Chair's Gas Cylinder
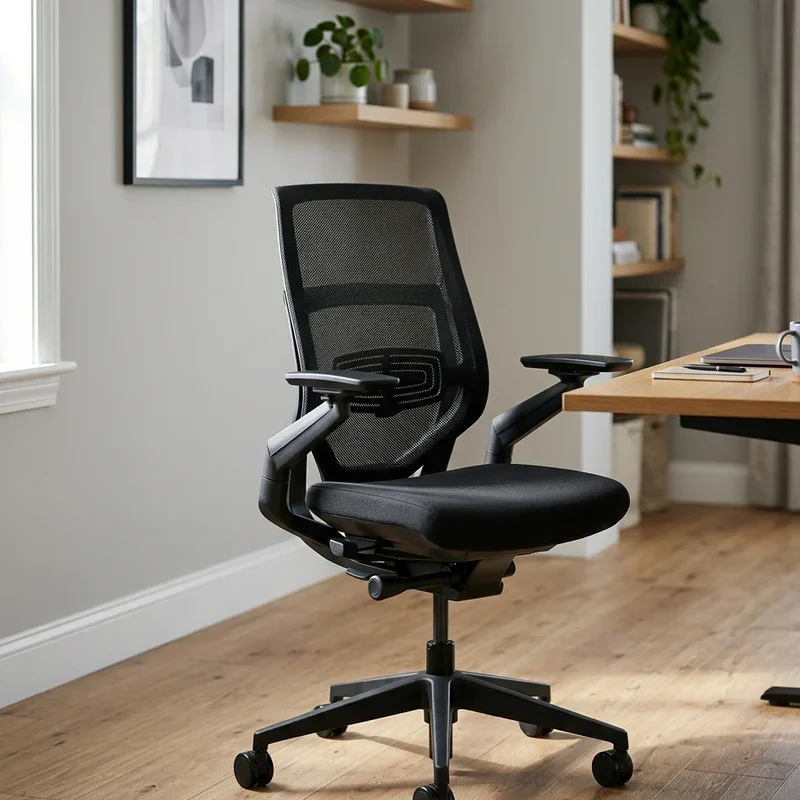
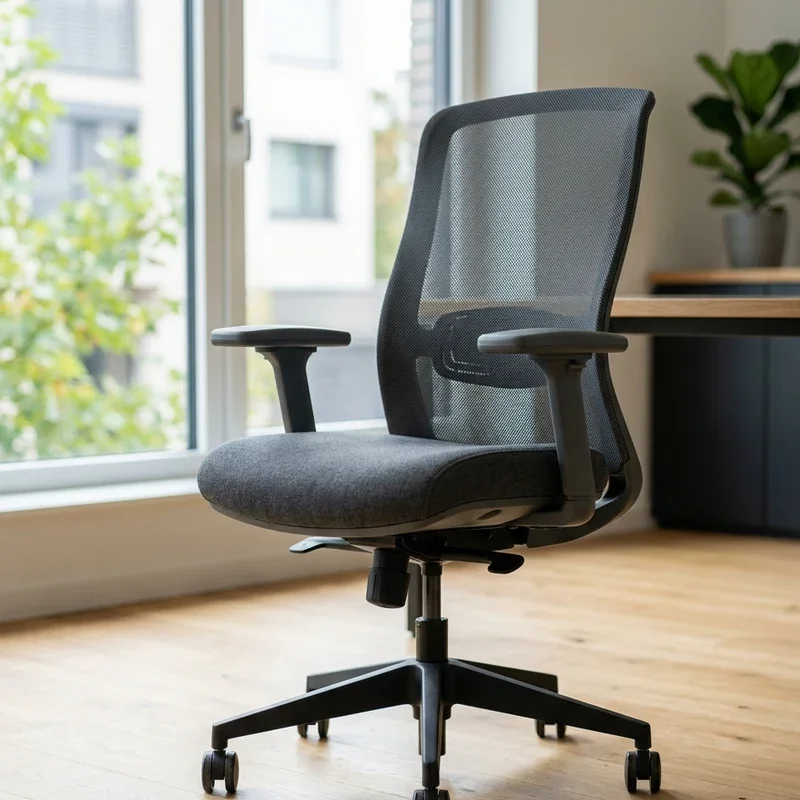
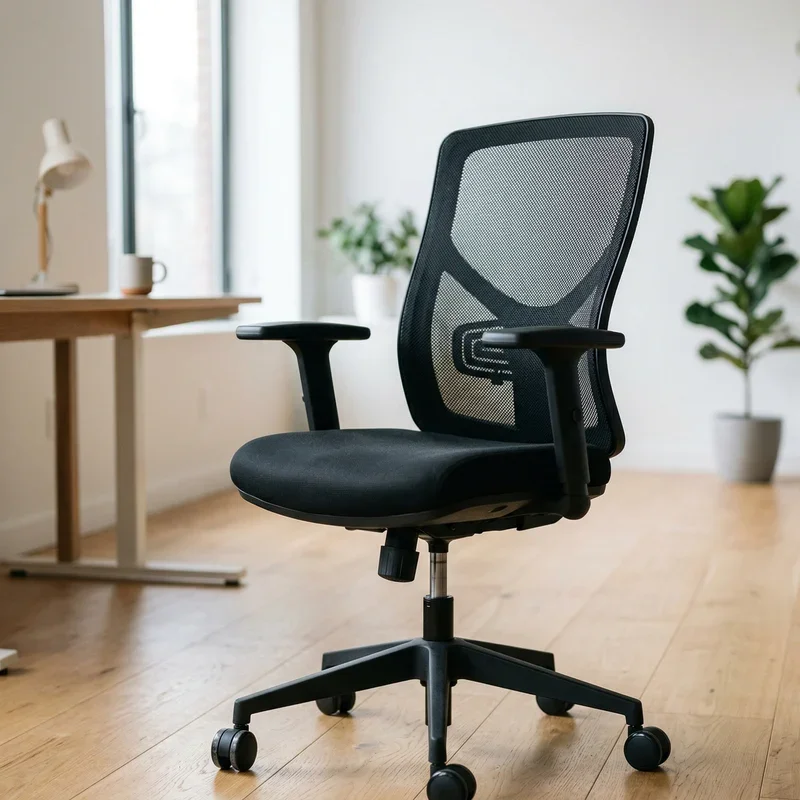
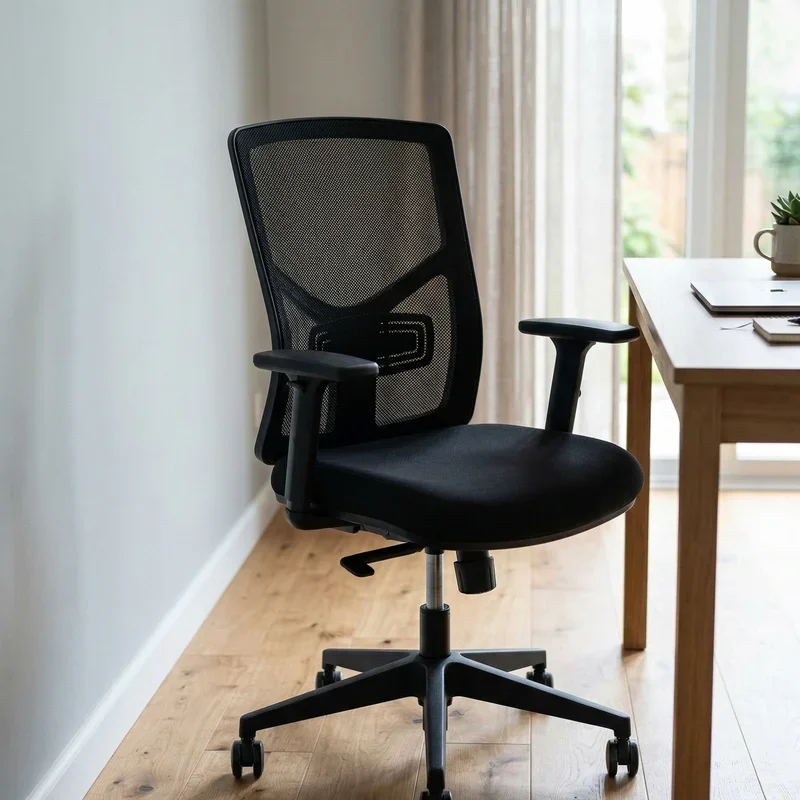
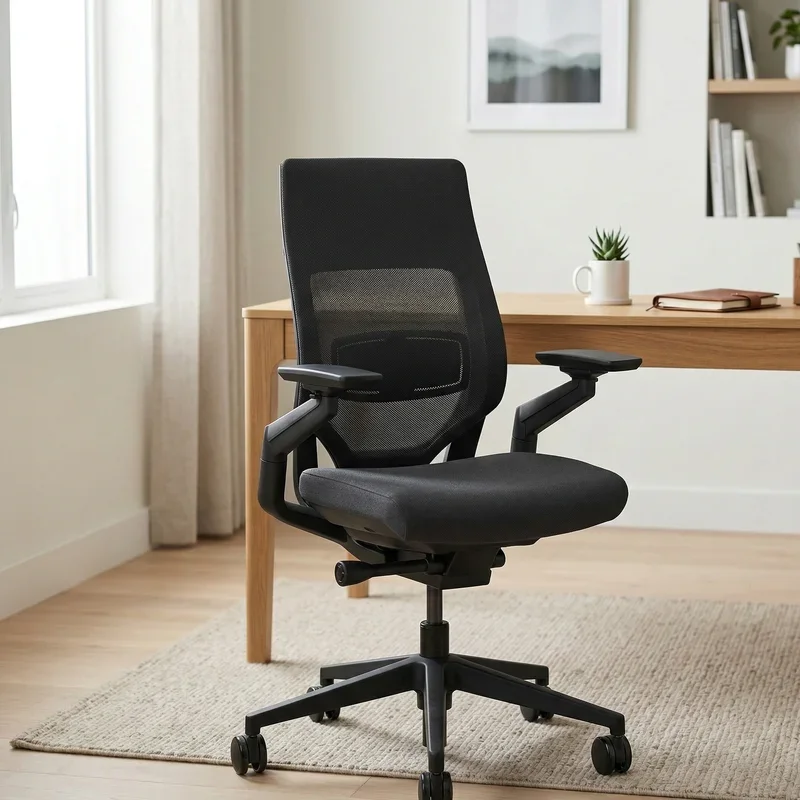
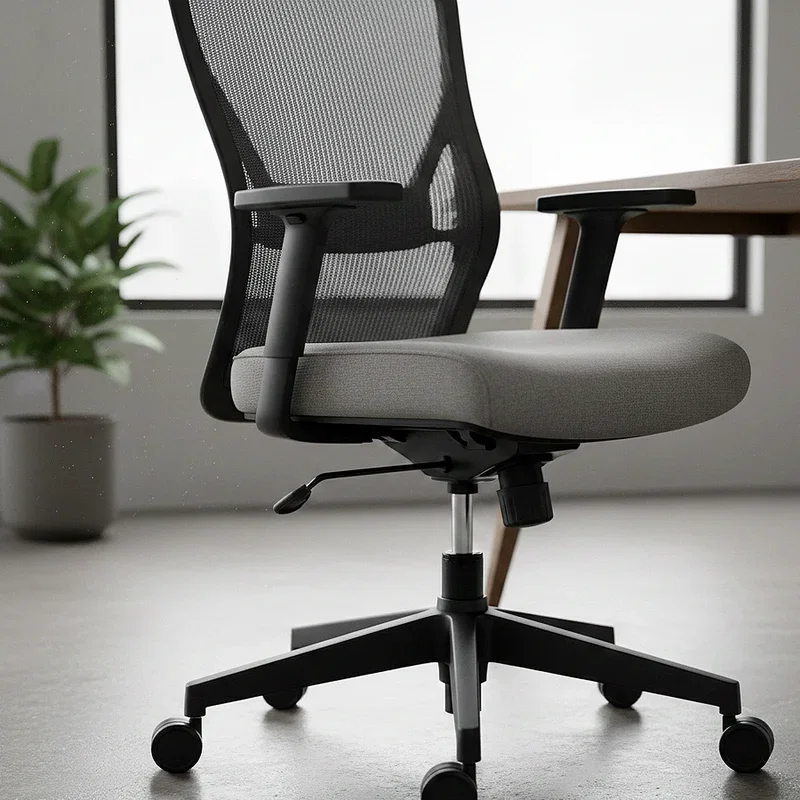
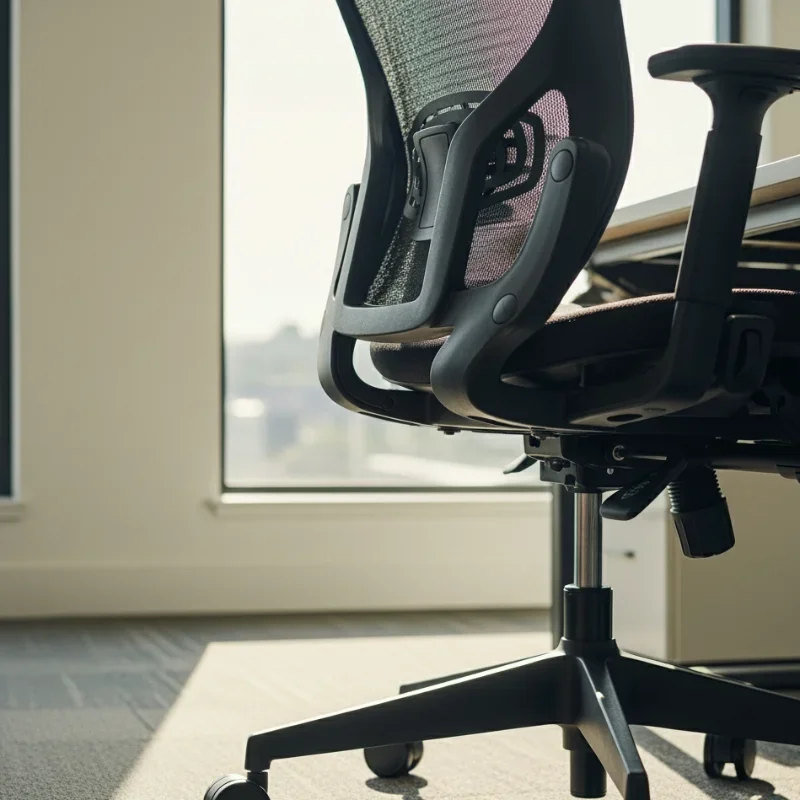
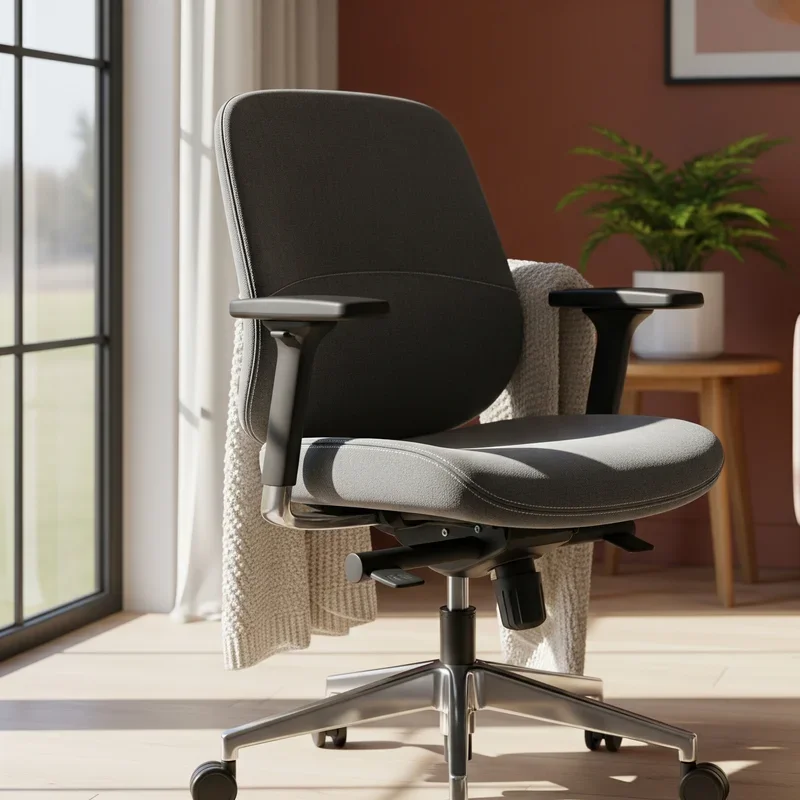
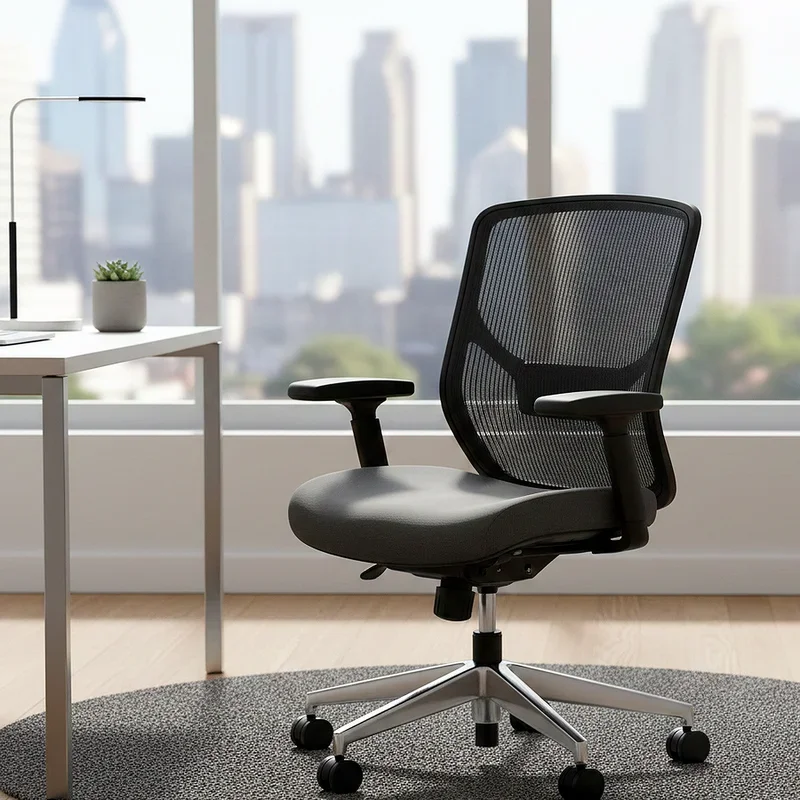
Before diving into the removal process, it helps to understand what you're working with. That metal tube connecting your seat to the wheelbase? That's the gas cylinder, sometimes called a pneumatic cylinder or gas lift. It's filled with compressed air or nitrogen, not actually gas in the traditional sense.
The cylinder does all the heavy lifting when it comes to adjusting your chair's height. Inside, there's a piston mechanism that moves up and down based on the pressure you apply. When you pull the adjustment lever, it releases a valve that either lets the chair rise or allows your weight to compress it downward.
Over time, these cylinders wear out. The seals can fail, the mechanism can get stuck, or internal components might just give up the ghost. When that happens, you'll notice your chair gradually sinking during the day or becoming completely unresponsive to the adjustment lever.
Gathering Your Tools and Materials
Alright, let's talk about what you'll need for this job. The good news? You probably have most of these items lying around already.
Here's your essential toolkit:
A rubber mallet or hammer with a block of wood Pipe wrench or adjustable wrench WD-40 or penetrating oil Safety gloves and goggles Old towels or rags Screwdriver set Measuring tape
The rubber mallet is your best friend here. It provides the force you need without damaging the chair's components. If you only have a regular hammer, wrapping it with cloth or using a wood block as a buffer works just fine.
Penetrating oil is a lifesaver when dealing with stuck parts. Those connections have probably been sitting tight for years, and a little lubrication goes a long way. Spray it on and let it sit for about fifteen minutes before attempting removal.
Safety gear isn't optional, folks. Those metal parts can pinch, slip, or surprise you in ways that aren't pleasant. Protect those peepers and hands. Better safe than sorry, as they say.
Preparing Your Workspace
Setting up properly makes the whole job smoother. You don't want to be halfway through and realize you're working in a cramped corner with no room to maneuver.
Find a spacious area with good lighting. Your garage, driveway, or even a covered patio works great. If you're stuck indoors, clear out a section of floor and lay down those towels or an old sheet to protect your flooring.
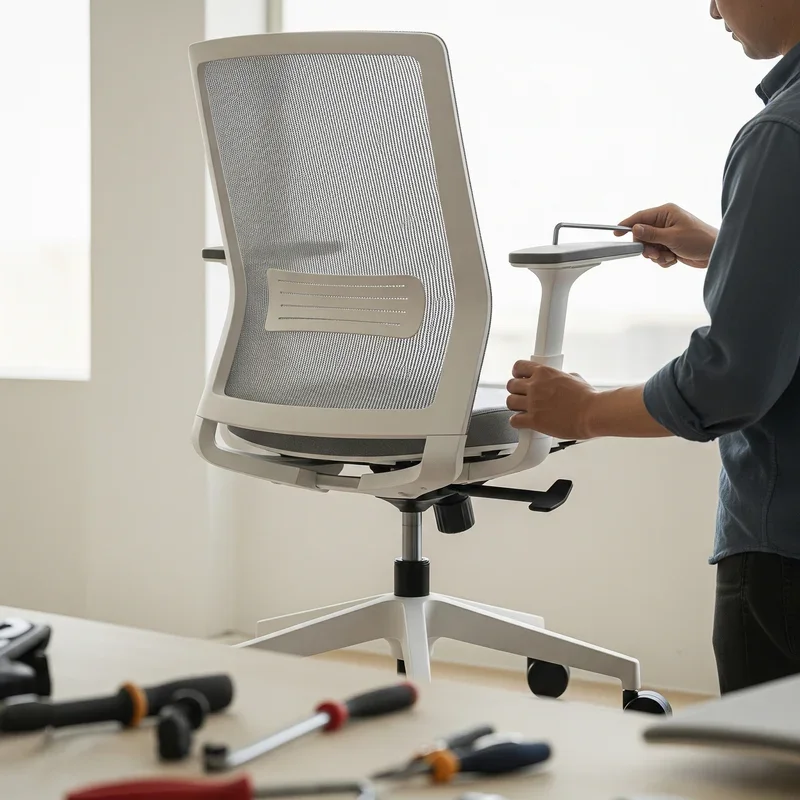
Flip your chair upside down once you've got your workspace ready. This gives you easy access to all the connection points. Make sure it's stable and won't roll away on you.
Take a moment to inspect everything before you start. Look at how the cylinder connects to both the seat mechanism and the wheelbase. Snap a few photos with your phone if you want a reference for reassembly later.
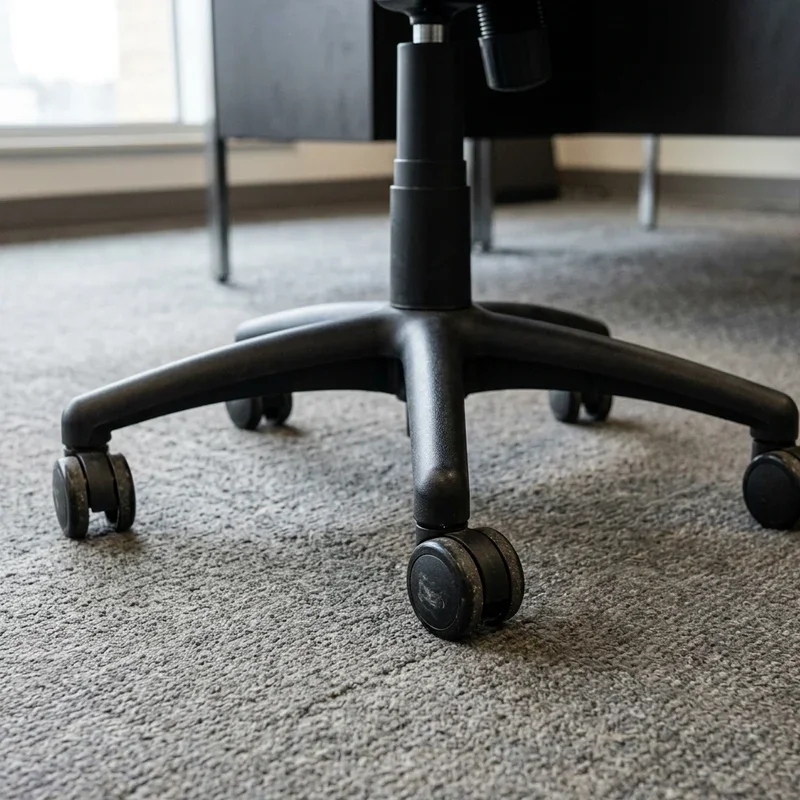
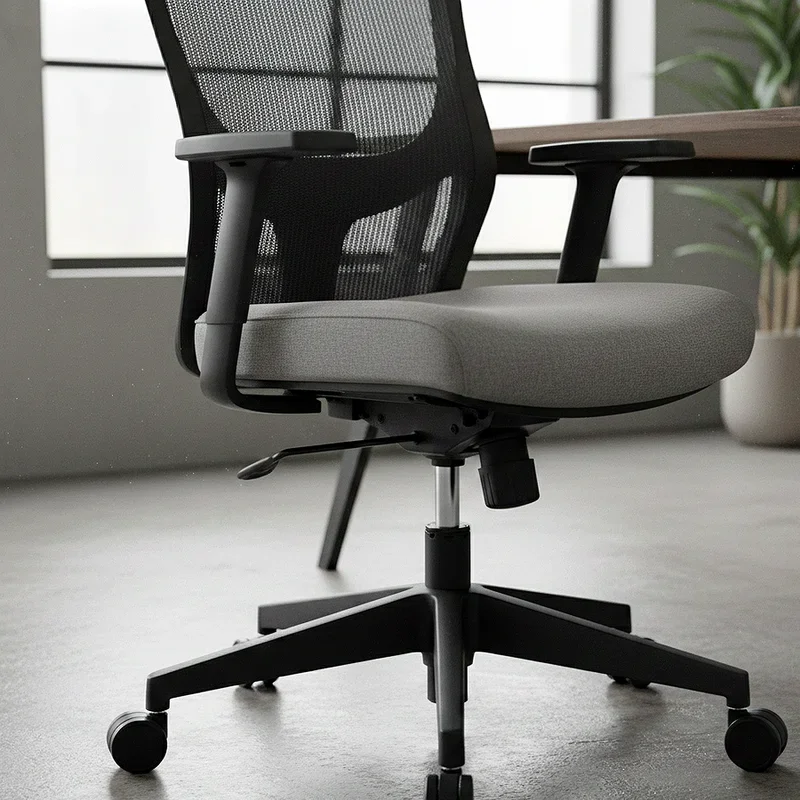
Removing the Wheelbase
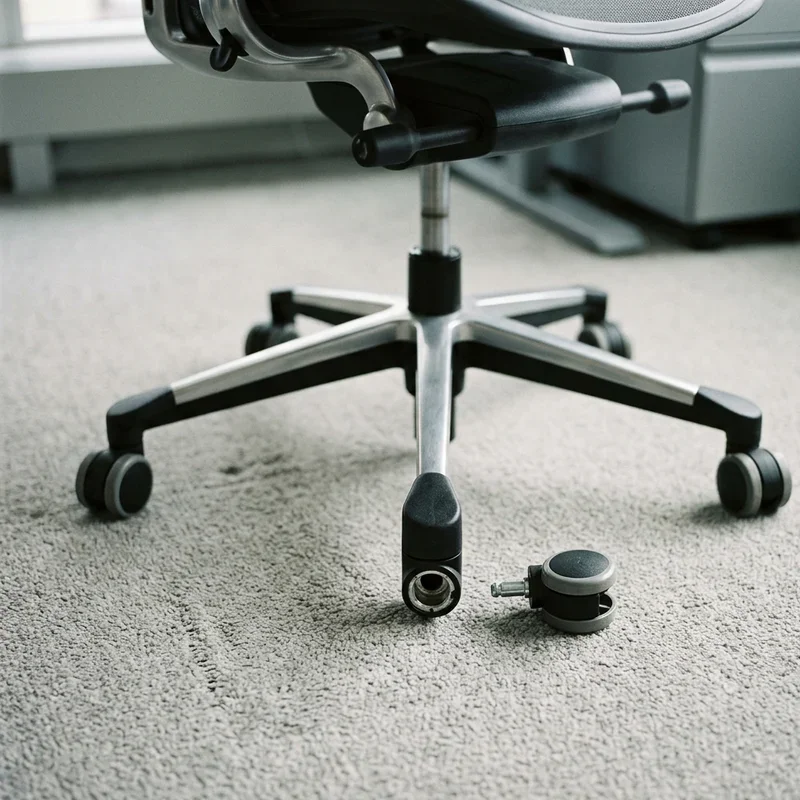
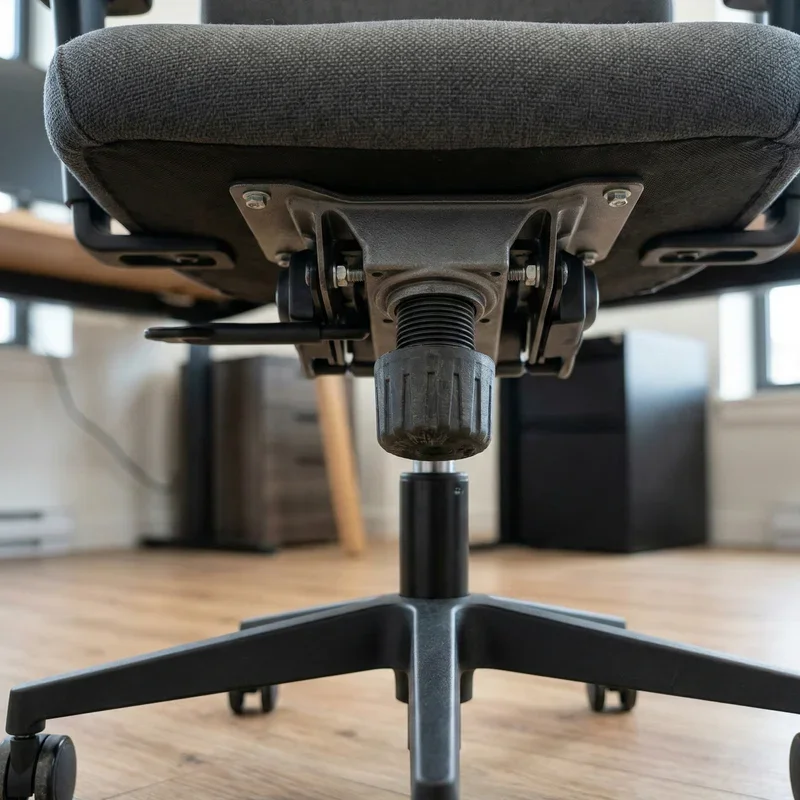
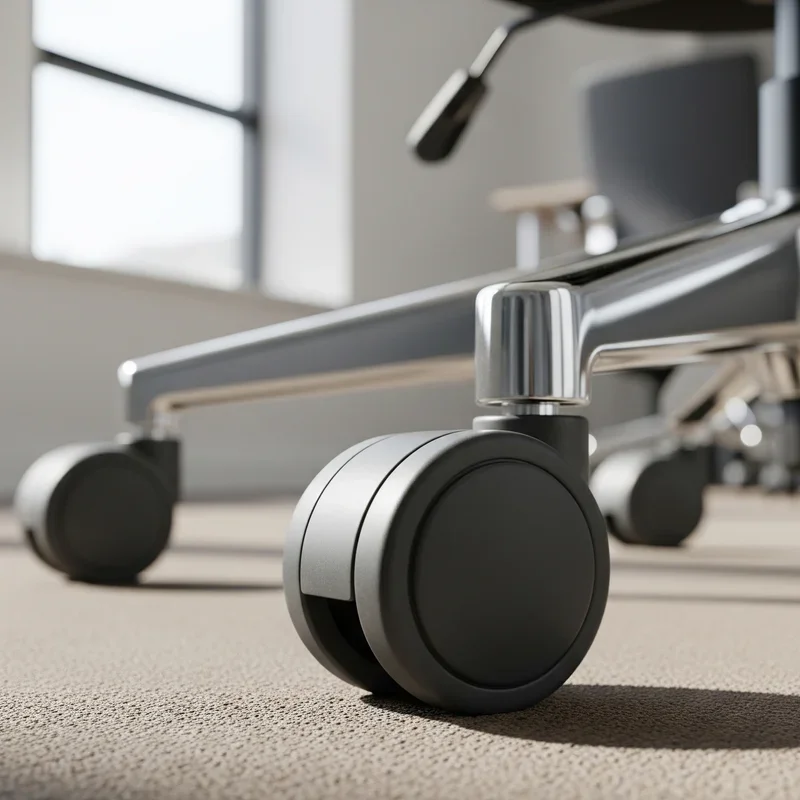
Now we're getting to the fun part. The wheelbase is that five-star assembly with all the casters attached. It's typically held onto the cylinder by friction and a retaining clip.
Start by looking for a retaining clip at the top of the wheelbase where it meets the cylinder. It's usually a metal ring or C-clip that prevents the cylinder from sliding out. If you spot one, use your screwdriver or pliers to carefully pry it off.
With the clip removed, here's where that mallet comes into play. Position yourself so you can strike upward on the cylinder while the wheelbase stays supported on the ground.
Give the bottom of the cylinder firm, sharp taps with your rubber mallet. You're trying to break the friction seal that's developed over time. Don't go crazy here. Steady, firm hits work better than wild swinging.
If it's being particularly stubborn, spray some penetrating oil around the connection point and wait a bit. Sometimes patience beats brute force. That oil needs time to work its magic.
Once the cylinder starts moving, keep tapping until it comes free. The separation might happen suddenly, so be ready. The wheelbase will drop away, leaving you holding the cylinder still attached to the seat mechanism.
Detaching the Seat Mechanism
With the wheelbase out of the way, you're halfway home. Now you need to separate the cylinder from the seat mechanism. This connection is similar to the wheelbase one but approached from a different angle.
The cylinder fits into a tapered hole in the bottom of the seat mechanism. Over time, this connection gets tighter than a drum. You'll need to apply force in the opposite direction now, pushing the cylinder down and out of the seat mechanism.
Secure the seat mechanism so it won't move around. You might want a helper to hold it steady, or you can use clamps if you're working solo.
Position your mallet to strike the top of the cylinder where it enters the seat mechanism. You're aiming to drive the cylinder downward out of its socket. Again, use controlled strikes rather than desperate whacking.
The penetrating oil trick works wonders here too. Spray liberally around the connection point and give it time to seep into the joint.
Keep at it with steady pressure. You might need to alternate between tapping and wiggling the cylinder to break it loose. When the cylinder finally releases, it'll slide right out. You've successfully completed how to remove cylinder from office chair for easy repair.
Dealing with Stubborn Cylinders
Sometimes cylinders just don't want to budge, no matter how much you tap, spray, or sweet talk them. If you've been at it for a while with no progress, don't throw in the towel just yet.
Heat can be your secret weapon against seized connections. A heat gun or even a hairdryer can expand the metal slightly, potentially breaking the friction seal. Apply heat around the connection point for a few minutes, being careful not to damage any plastic components nearby.
If you're still stuck, a pipe wrench provides extra leverage. Grip the cylinder with the wrench and try twisting while tapping. This combination of rotational and vertical force often succeeds where tapping alone fails.
For really stubborn cases, you might need a three-jaw puller tool. It's an investment, but if you maintain multiple chairs or plan to help friends with their repairs, it's worth having.
Installing the New Cylinder
Installation is basically the reverse of removal, but there are a few tricks to make it go smoothly.
Start by measuring your old cylinder to make sure your replacement matches. Cylinders come in different lengths and diameters, so getting the right size matters.
Before installing anything, give the tapered ends of your new cylinder a light coating of lubricant. This helps it seat properly and makes future removal easier.
Insert the cylinder into the wheelbase first. The tapered end should slide into the socket fairly easily. Once it's in position, give it a few light taps with your mallet to seat it firmly. Remember that retaining clip you set aside? Now's the time to reinstall it if your chair uses one.
With the wheelbase attached, flip the assembly right-side up. Align the cylinder with the socket and lower the seat mechanism onto it. Apply firm downward pressure to seat the cylinder fully. You might need to wiggle it slightly or give the seat a few bounces to get it to lock in place.
Testing Your Repaired Chair
Don't rush to declare victory just yet. Testing ensures everything's working as it should and that your repair will last.
Check that the cylinder is fully seated in both sockets. There shouldn't be any gaps or wobbling. Give the seat a firm shake to make sure everything's tight and secure.
Carefully sit in the chair and test the adjustment mechanism. Pull the lever and see if the chair raises smoothly. Release it and apply your weight to check if it lowers properly. The movement should feel smooth and controlled, not jerky or sticky.
Try adjusting the chair to different heights. Test it at the highest and lowest positions to ensure the cylinder functions properly throughout its full range of motion. Listen for any unusual sounds like hissing, which might indicate a faulty seal.
Spin around in the chair. Rock side to side. Give it the full workout. A properly installed cylinder should provide solid, stable support in all positions.
Troubleshooting Common Issues
Even with careful work, sometimes things don't go perfectly the first time. Most issues have simple solutions.
If your chair still sinks after installing a new cylinder, double-check that you got the right replacement part. Cylinders are rated for different weight capacities, and using one that's too light for your needs will result in continued sinking.
A wobbly chair usually means the cylinder isn't fully seated in one or both sockets. Remove it and reinstall, making sure to apply adequate force to seat it completely.
Squeaking or creaking noises often come from friction between metal parts. Apply lubricant to any moving components and connection points.
If the adjustment lever doesn't work, the issue might not be the cylinder at all. Check the lever mechanism itself for damage or disconnection.
Safety Considerations and Maintenance Tips
Let's talk about staying safe during this process. Those pneumatic cylinders contain compressed gas. While they rarely explode or cause injury, treating them with respect is important. Never attempt to disassemble the cylinder itself or expose it to extreme heat.
Wear your safety gear consistently. Metal edges can be sharp, tools can slip, and heavy parts can drop. Work in a well-ventilated area, especially when using penetrating oils.
Now that you've repaired your chair, keep it in good shape with basic maintenance. Periodically check all bolts and connections. Things loosen over time with regular use. Keep the cylinder clean and dry to prevent rust and corrosion.
Don't overload your chair beyond its weight capacity. Every chair has limits, and exceeding them accelerates wear on all components. Lubricate moving parts occasionally to reduce friction and prevent wear.
Conclusion
There you have it, folks. How to remove cylinder from office chair for easy repair doesn't have to be intimidating once you break it down into manageable steps. With basic tools, patience, and the right approach, you can tackle this repair confidently and save yourself some serious cash. Remember to work safely, take your time with stubborn connections, and don't hesitate to ask for help if needed. Your newly repaired chair will serve you well for years to come.
Read next: How to Clean a Leather Office Chair: Step-by-Step Guide
Frequently Asked Questions
Q1: How long does removing a cylinder from an office chair typically take?
A: Most people complete the removal process in thirty to sixty minutes with proper tools.
Q2: Can I reuse an old cylinder if it still seems functional?
A: Yes, if inspection shows no damage, cleaned cylinders can often be reinstalled successfully.
Q3: What's the most common reason for office chair cylinder failure?
A: Seal deterioration from normal wear causes most cylinders to gradually lose pressure over time.
Q4: Do all office chairs use the same size gas cylinder?
A: No, cylinders vary in length, diameter, and weight capacity across different chair models.
Q5: Is it safe to work on a pneumatic cylinder at home?
A: Yes, external cylinder removal is safe, but never attempt to disassemble the cylinder itself.
Stay up to date with our latest ideas!