How to Remove Gas Cylinder From Office Chair Safely
Learn how to remove gas cylinder from office chair safely with simple tools, smart tricks, and zero frustration. Get it done in minutes!

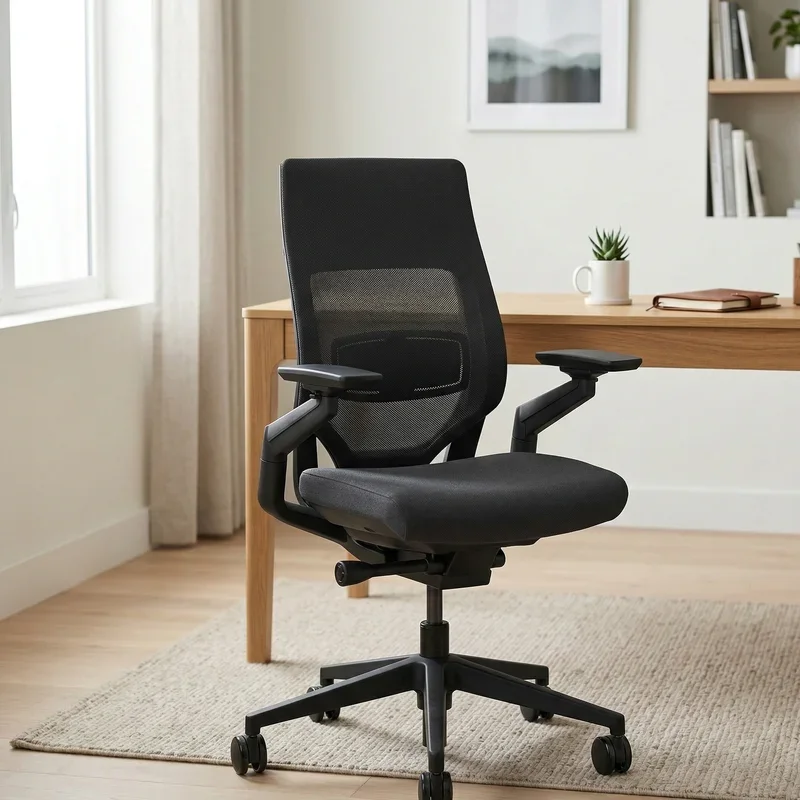
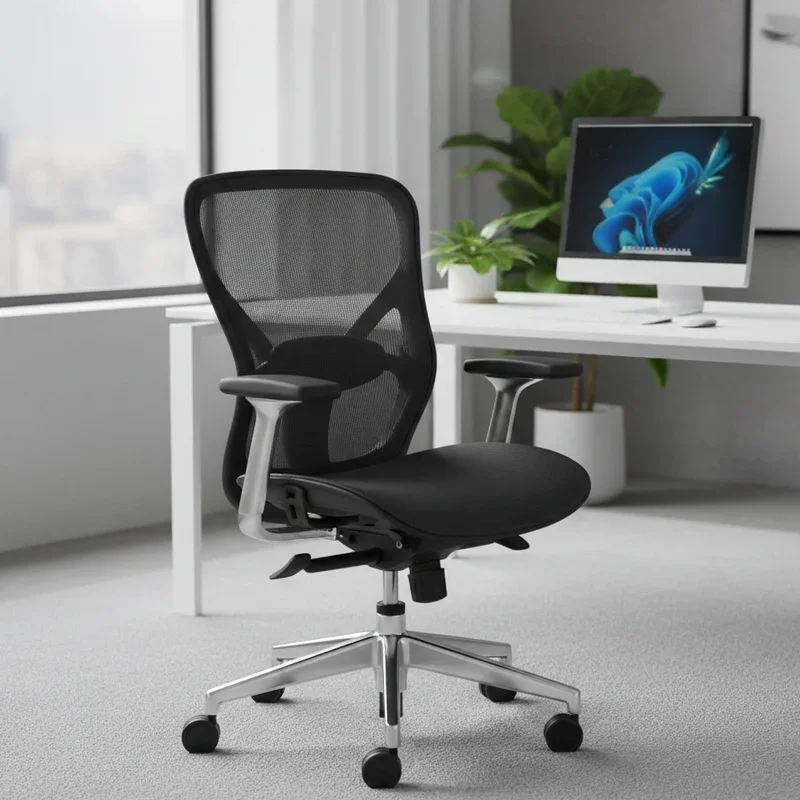
So, your office chair finally gave up on you. Maybe it sinks whenever you sit down, or perhaps it's stuck at an awkward height that makes your knees scream. Whatever the reason, swapping out that gas cylinder feels like rocket science when you've never done it before. But here's the thing, it really isn't. With a little patience, a few household tools, and the right approach, you'll have that old cylinder out faster than you can say "lumbar support." This guide walks you through how to remove gas cylinder from office chair safely, step by step, without breaking a sweat or your back.
Why Bother Replacing the Gas Cylinder Anyway?
Office chairs aren't built to last forever, and the gas cylinder is usually the first thing to wave the white flag. You might notice your chair slowly sinking while you're trying to finish that important report, or maybe it refuses to budge when you want to adjust the height. Either way, replacing the cylinder is way cheaper than buying a whole new chair. Plus, you get to feel like a DIY champion once you're done, which, let's be honest, is a pretty nice bonus after a long workday.
Gathering Your Tools Before You Dive In
You don't need a fancy workshop for this job. Most folks already have everything lying around the house. Here's what you'll want to grab before getting started:
A rubber mallet or hammer
A pipe wrench or large adjustable wrench
WD-40 or any penetrating lubricant
Safety goggles
Work gloves
A sturdy surface like a garage floor or driveway
Old towels or rags
Having everything within arm's reach saves you from running back and forth mid-project. Trust me, once you're knee-deep in this task, the last thing you want is to go hunting for a wrench.
Safety First, Always
Before you even think about wrestling with that chair, let's talk safety. Gas cylinders in office chairs aren't bombs waiting to explode, despite what some internet horror stories might suggest. Still, they're under pressure, and you should treat them with respect. Pop on those safety goggles because little bits of debris can fly when you're banging things around. Slip into work gloves too, since old metal and plastic edges can be sharper than they look. Work in a well-ventilated spot, and keep kids and pets out of the way while you're at it.
How to Remove Gas Cylinder From Office Chair Safely: The Step-by-Step Breakdown
Alright, now we're getting to the good stuff. This is where the magic happens, and honestly, it's way simpler than most people think.
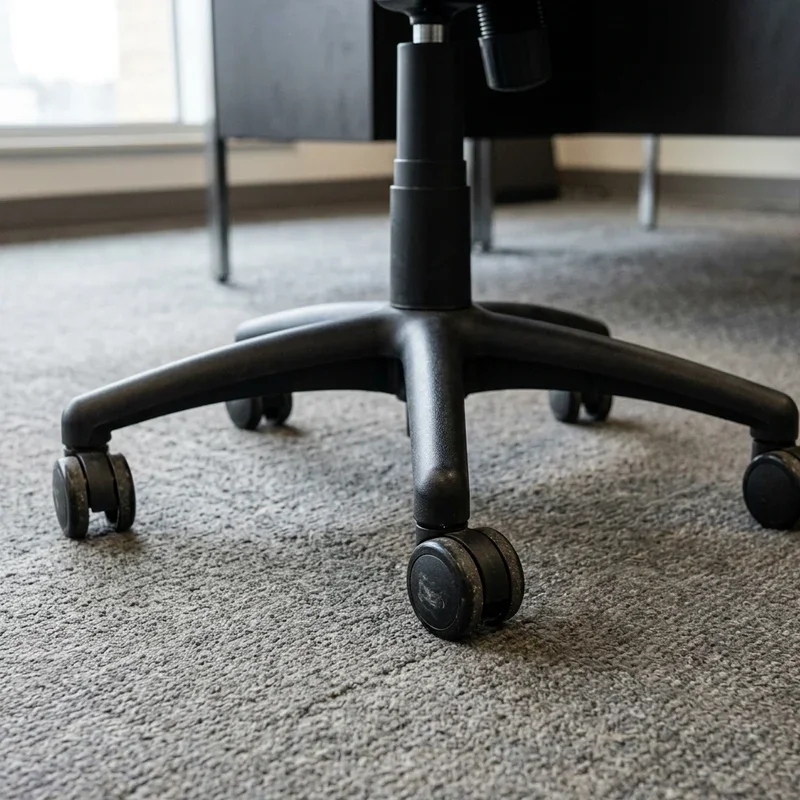
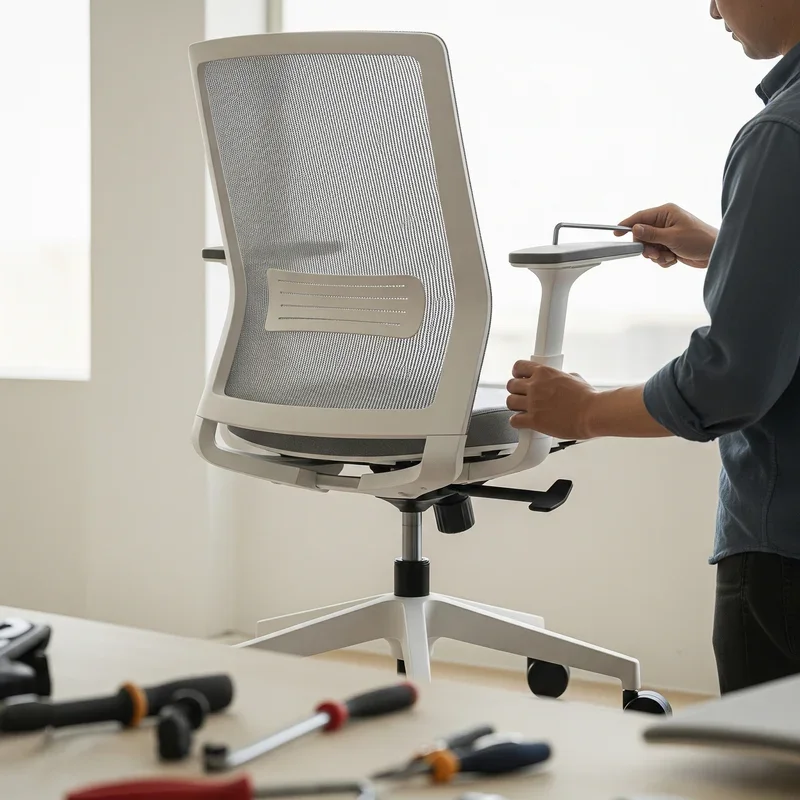
Step 1: Flip That Chair Upside Down
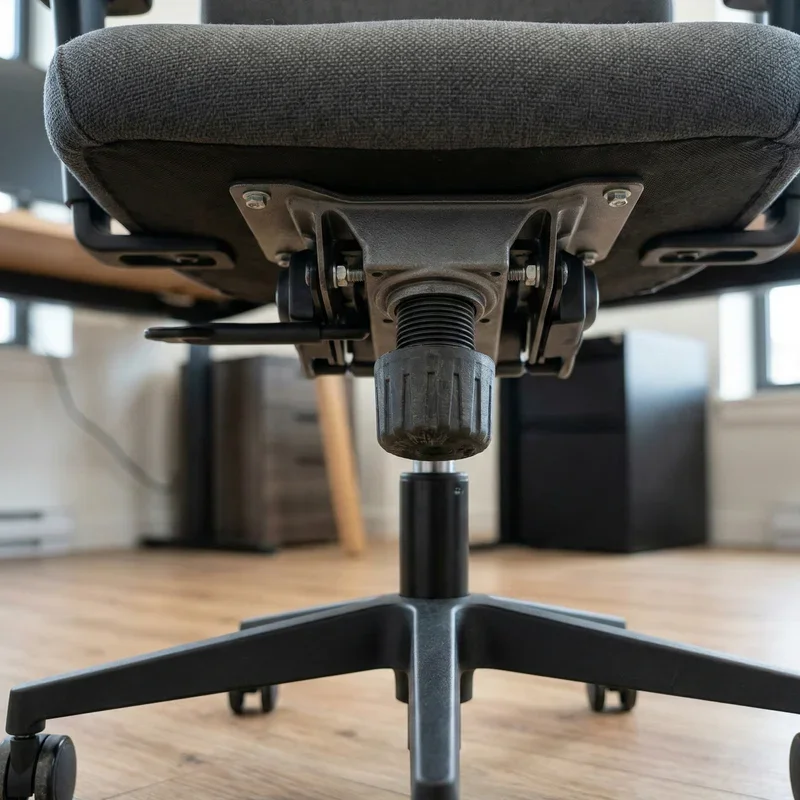
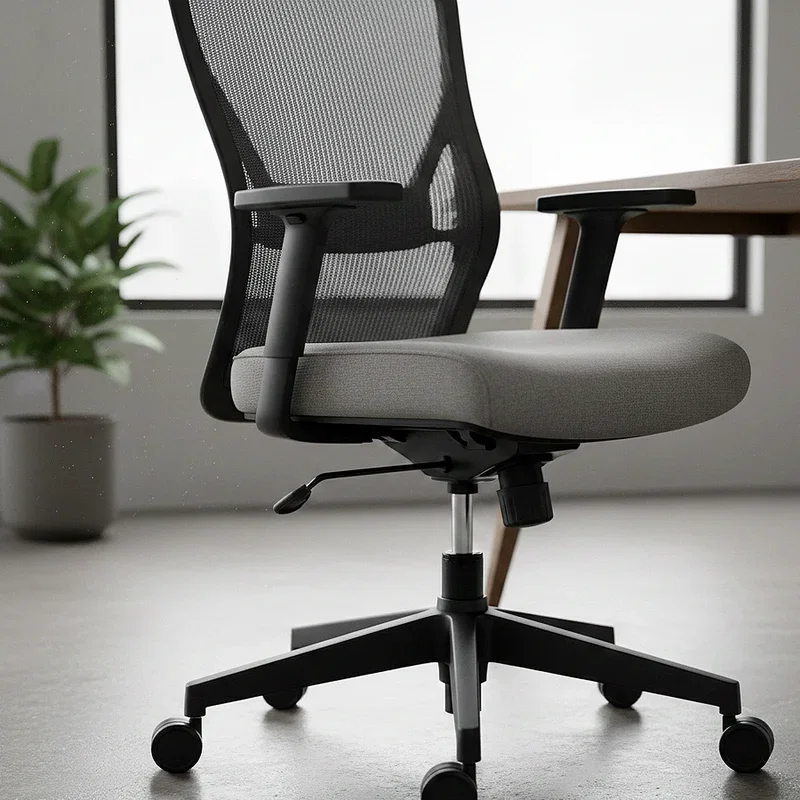
First things first, turn your chair upside down so the wheels are pointing at the ceiling. Rest it on a towel or old blanket to protect the upholstery. You'll immediately see the five-star base, the wheels, and that stubborn cylinder connecting everything to the seat. Take a quick look and familiarize yourself with how it all fits together. Sometimes just understanding the setup makes the whole process click.
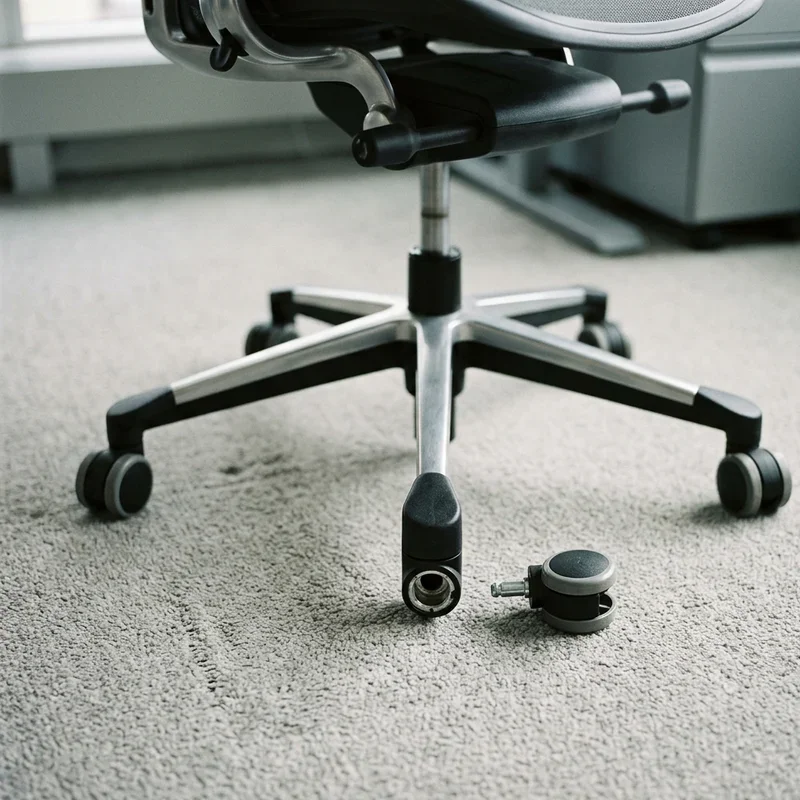
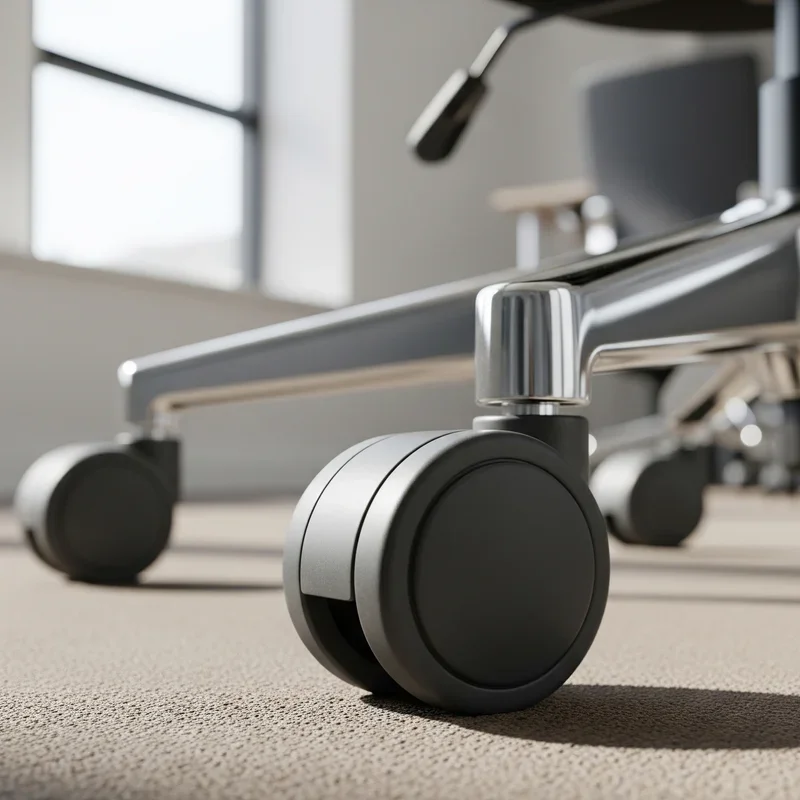
Step 2: Remove the Wheels
Most office chair wheels just pop right out with a firm tug. Grab one wheel, give it a solid pull, and it should come free. If they're being stubborn little things, wiggle them back and forth while pulling. Set them aside in a pile because you'll need them again later if you're installing a new cylinder. No point in losing them to the couch monster halfway through.
Step 3: Separate the Base From the Cylinder
Here's where things get interesting. The five-star base connects to the bottom of the gas cylinder, and it's usually jammed on there pretty tight. Give the connection area a generous spray of WD-40 and let it sit for about five minutes. This helps break up any rust or grime that's been building up over the years. While you wait, maybe grab a snack or check your phone, because you've earned a tiny break.
Step 4: The Tap and Twist Method
Once the lubricant has worked its magic, grab your rubber mallet and give the base a few firm taps where it meets the cylinder. Work your way around the connection, tapping evenly. This shock loosens the grip without damaging anything. After tapping, try twisting the base off with your hands or with the help of your pipe wrench. It might take some muscle, but it should eventually budge. If it still won't move, give it another tap session and try again.
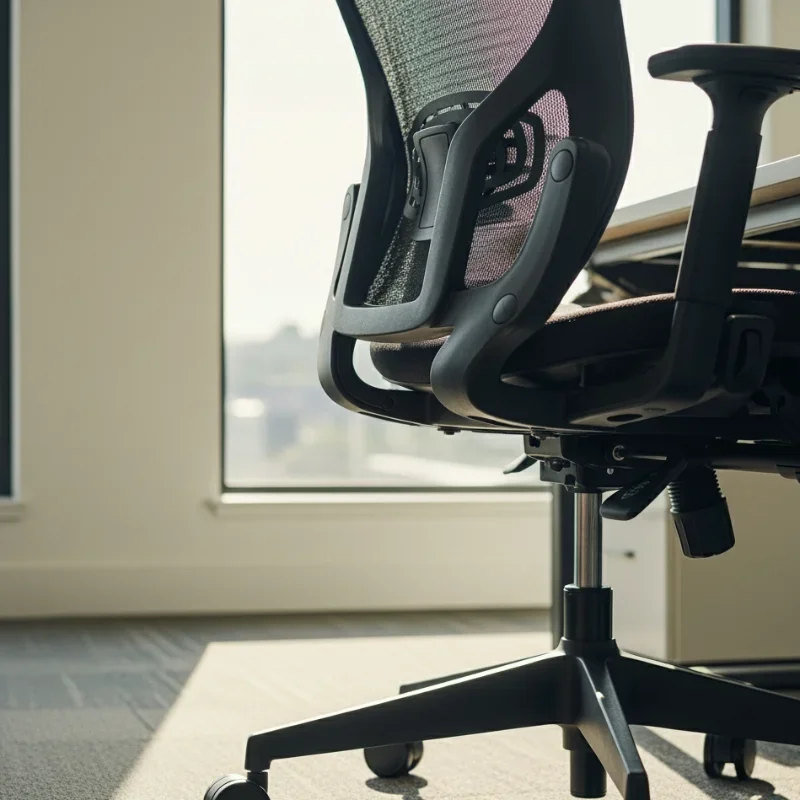
Step 5: Tackle the Seat Mechanism
With the base off, your cylinder is now stuck to the seat part of the chair. Flip things around and work on separating the cylinder from the seat mechanism. Same deal here, spray some lubricant, tap around the connection point, and twist. The pipe wrench comes in super handy for this part because you can really get a good grip on the cylinder itself. Clamp down firmly and rotate, or use the wrench as leverage while you pull.
What to Do When Things Get Really Stuck
Sometimes a cylinder just refuses to cooperate. Maybe it's been there for a decade, or maybe the previous owner used industrial-strength glue for some reason. Either way, don't panic. A few extra tricks can save the day.
Try heating the connection point with a hair dryer for a few minutes. The heat expands the metal slightly and can loosen things up. Another option is using a strap wrench, which gives you more grip without damaging the cylinder. Some people swear by the pipe wrench and hammer combo, where you attach the wrench and then tap the wrench handle to create rotational force. Whatever you do, don't use excessive force that could crack the base or injure you.
Common Mistakes People Make Along the Way
Let's talk about what not to do, because honestly, these slip-ups happen more often than they should.
Skipping the lubricant because you're impatient
Using a regular hammer directly on the chair parts without protection
Forgetting safety gear and ending up with a splinter or worse
Trying to puncture the cylinder to release pressure (this is dangerous and unnecessary)
Applying force in the wrong direction
Not taking photos of the setup before disassembly
That last one might sound silly, but snapping a quick picture with your phone before you start tearing things apart is genuinely helpful. When it's time to put everything back together, you'll thank your past self for the reference shot.
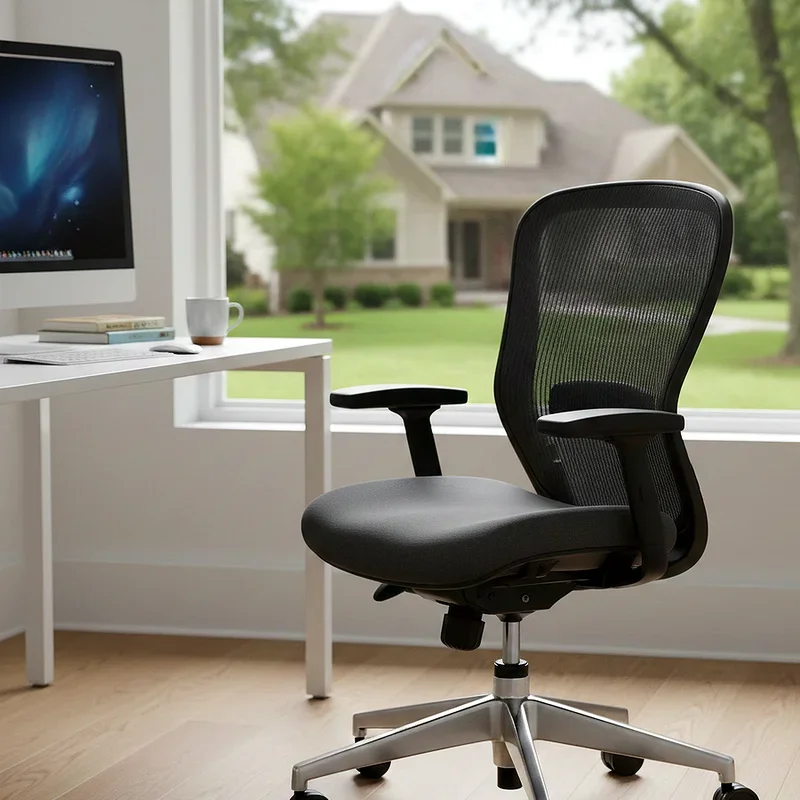
Installing the Replacement Cylinder
Once you've got the old one out, putting in the new one is honestly the easiest part of the whole project. Slide the new cylinder into the base, making sure it sits flat and straight. Then place the seat mechanism on top and press down firmly. Here's a neat trick: sit on the chair after assembly. Your body weight locks everything into place thanks to the tapered design. It's oddly satisfying, almost like the chair is hugging itself back together.
Keeping Your New Cylinder in Great Shape
You just did all this work, so let's make sure you don't have to repeat it anytime soon. Avoid bouncing or dropping hard into your chair, since sudden impacts wear out the cylinder faster. Keep the mechanism clean by wiping it down occasionally, and don't overload the chair beyond its weight capacity. Most office chairs handle about 250 pounds, though heavier-duty models can take more. Check your manual or the manufacturer's website to be sure.
When Should You Call in a Pro?
Listen, not every job is a DIY job, and there's no shame in admitting that. If your chair is under warranty, trying to fix it yourself might void that coverage, so check the paperwork first. Some high-end ergonomic chairs have complex mechanisms that require specific tools or expertise. In those cases, reaching out to the manufacturer or a furniture repair service is the smarter move. Your time has value too, and sometimes paying someone else is worth every penny.
How to Remove Gas Cylinder From Office Chair Safely Without Damaging Anything
The whole point of doing this carefully is to keep your chair in one piece, right? Always work slowly and check your progress often. If something feels wrong, stop and reassess instead of pushing through. Protect the seat upholstery with a towel or blanket throughout the process. Keep your tools clean so you're not transferring grease or grime onto the chair fabric. And remember, patience is your best friend here. Rushing leads to broken parts and frustrated afternoons.
Budget-Friendly Tips for the Whole Project
Replacing a gas cylinder doesn't have to empty your wallet. Universal cylinders fit most standard office chairs and typically cost between fifteen and thirty dollars online. Measure your old cylinder before ordering, paying attention to both length and diameter. Some sellers offer bundles that include installation tools, which is a solid deal if you don't already own them. Buying from reputable sellers saves you headaches down the road, so read reviews before clicking that checkout button.
The Satisfaction Factor
There's something genuinely rewarding about fixing things with your own hands. You save money, learn a new skill, and get to brag about it later. Every time you sit in that chair now, you'll remember you brought it back from the dead. Cheesy? Maybe. But small victories like this add up, and they make you more confident about tackling other repairs around the house. Next thing you know, you'll be eyeing that squeaky door hinge with newfound determination.
Conclusion
Removing a gas cylinder from an office chair sounds intimidating, but it's really just a mix of patience, the right tools, and a willingness to get your hands a little dirty. By following these steps, you'll save money, extend the life of your chair, and pick up a handy skill along the way. Remember to prioritize safety, take your time, and don't hesitate to try different techniques if the first approach doesn't work. Your back and wallet will both thank you for the effort.
Read next: How to Make an Office Chair Lean Back Easily
Frequently Asked Questions
1.Can I remove a gas cylinder without a pipe wrench?
A: Yes, you can use a rubber mallet and lubricant, though it takes more effort.
2.How long does this whole process usually take?
A: Most people finish in thirty to sixty minutes, depending on how stuck things are.
3.Is it safe to reuse an old gas cylinder?
A: No, replacing it with a new one ensures proper support, stability, and long-term performance.
4.Will removing the cylinder release dangerous gas pressure?
A: No, the nitrogen inside is safe and releases harmlessly during normal removal.
5.Can I install any cylinder in my chair?
A: Most chairs accept universal cylinders, but always verify measurements before purchasing anything.
Stay up to date with our latest ideas!