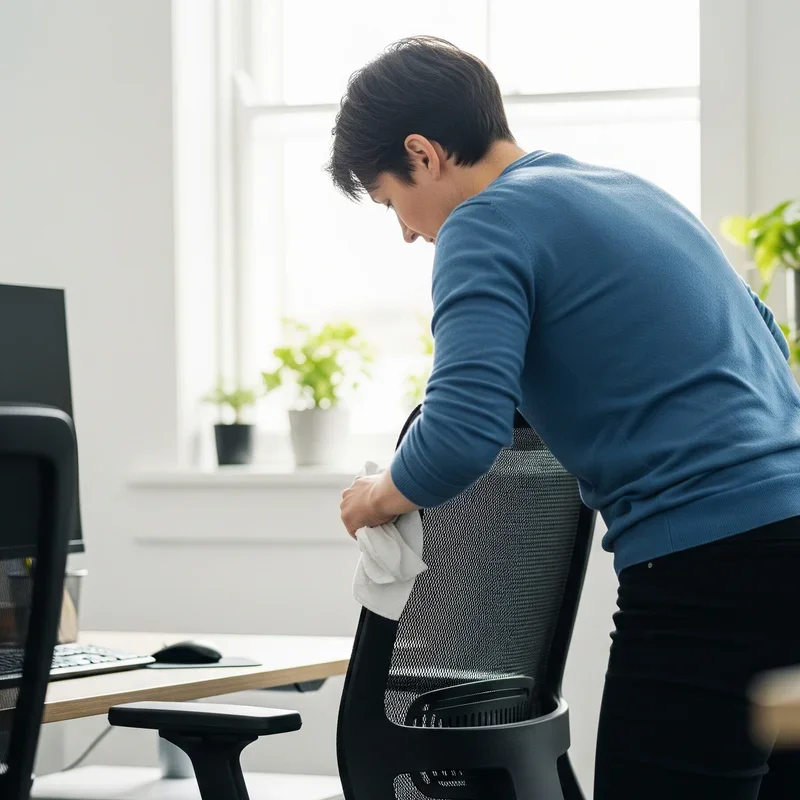
How to Reupholster an Office Chair Step by Step
Learn how to reupholster an office chair step by step with this easy DIY guide. Save money and refresh your workspace today!
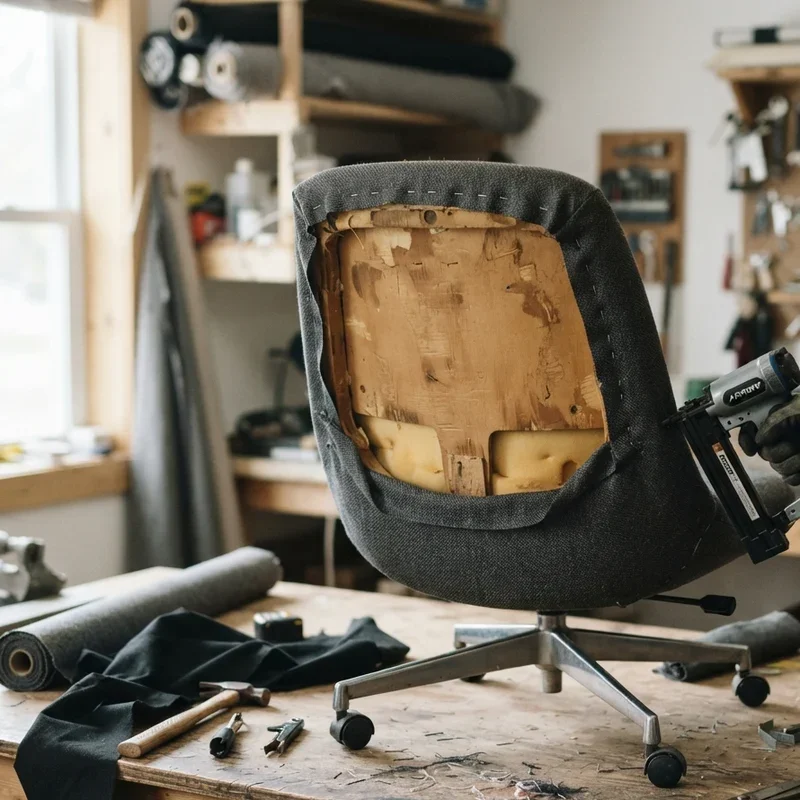
Let's be real for a second. That office chair you've been sitting in for the past few years has seen better days, hasn't it? The fabric is worn thin, maybe there's a coffee stain you stopped trying to hide ages ago, and the cushion feels like a pancake. But here's the thing. The frame is still solid. The wheels still roll. The adjustable height still works just fine. So why would you throw the whole thing out and spend a fortune on a brand new one?
Well, you wouldn't. Not if you're smart about it. Learning how to reupholster an office chair step by step is one of those satisfying weekend projects that saves you real money while giving your workspace a serious glow up. You don't need to be a professional upholsterer or have a garage full of fancy tools. With a little patience and the right guidance, you can pull this off like a champ.
In this guide, we're going to walk through everything you need to know. From picking the perfect fabric to putting on those finishing touches that make your chair look like it just rolled off the showroom floor. So grab a cup of coffee, roll up your sleeves, and let's get into it.
Why Reupholstering Makes More Sense Than Replacing
Before we dive into the nuts and bolts, let's talk about why this project is worth your time in the first place. A decent office chair can cost anywhere from a hundred bucks to well over a thousand. If the bones of your current chair are still in good shape, reupholstering it can cost you as little as twenty to fifty dollars in materials. That's a no brainer if you ask me.
Beyond the money you'll save, there's also the satisfaction factor. There's something genuinely rewarding about looking at a piece of furniture and knowing you brought it back to life with your own two hands. Plus, you get to pick exactly the color, pattern, and texture you want. Try getting that kind of customization from a big box store.
And honestly, it's also a green move. Keeping a chair out of the landfill and giving it a second act is a small but meaningful way to reduce waste. Mother Earth gives you a thumbs up for that one.
Tools and Materials You'll Need Before Getting Started
Preparation is half the battle with any DIY project. You don't want to be halfway through tearing your chair apart only to realize you're missing something crucial. So let's get your supply list squared away first.
Here's what you're going to need:
1. New upholstery fabric, enough to cover your seat and backrest with a few extra inches on all sides 2. A staple gun, either manual or electric, with appropriately sized staples 3. A flathead screwdriver or staple remover for pulling out old staples 4. A pair of sharp fabric scissors 5. A Phillips head screwdriver or a drill with the right bit for removing screws 6. Pliers for stubborn staples that won't budge 7. A marker or chalk for tracing your fabric 8. Batting or foam padding if your old cushion needs refreshing 9. A clean workspace with good lighting
Having everything laid out and ready to go will make the entire process smoother. Trust me on this one. Nothing kills momentum like stopping to hunt for a tool in the middle of a project.
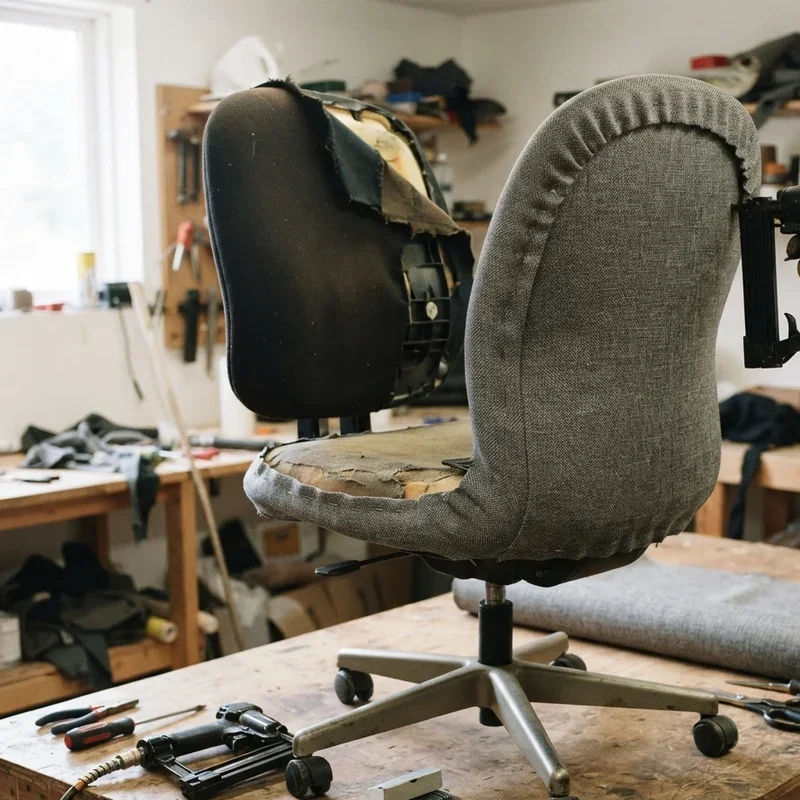
How to Choose the Right Fabric for Your Office Chair
Picking the right fabric isn't just about what looks pretty. You've got to think practically here. This is a chair you're going to be sitting in for hours every single day, so durability matters big time.
For office chairs, you generally want to look at fabrics that can handle regular wear and tear without falling apart. Upholstery grade cotton blends, polyester, and microfiber are all solid options. They're tough, they clean up easily, and they come in a wide range of colors and patterns.
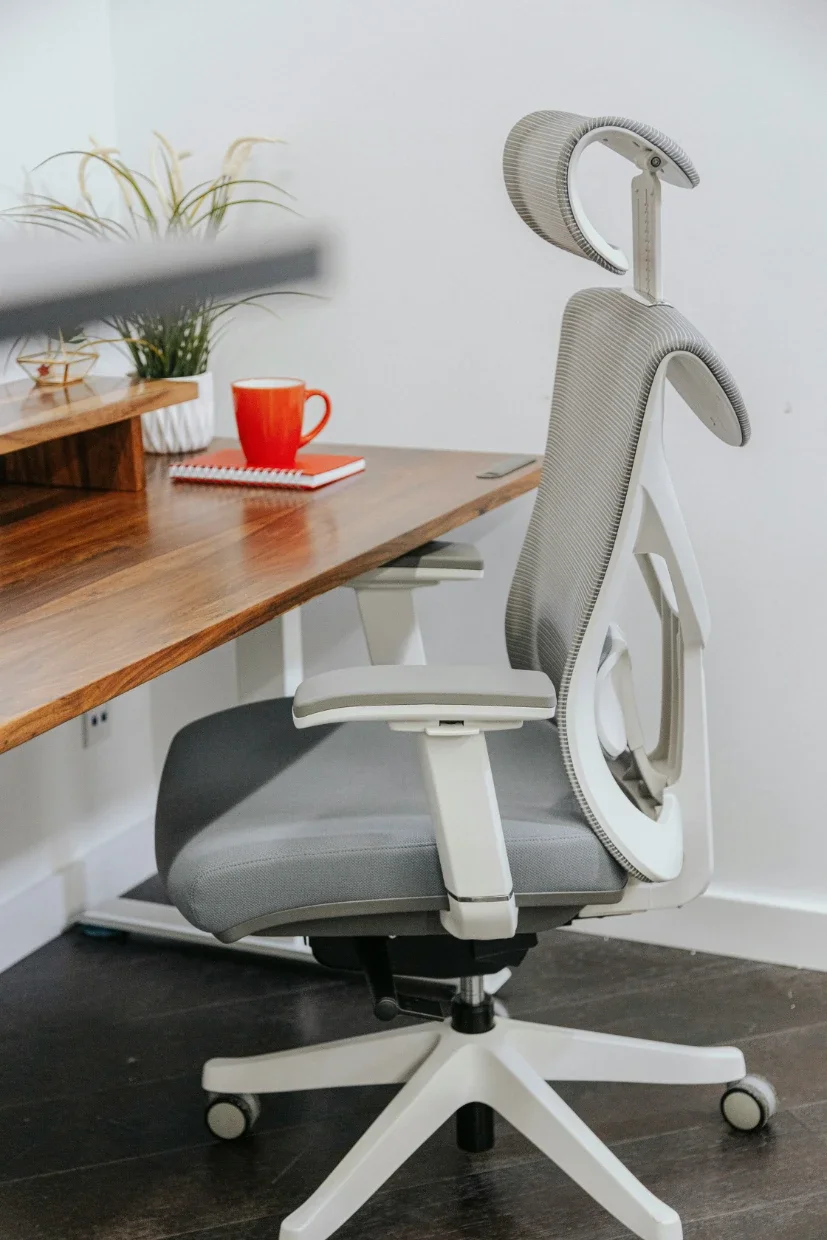
If you're working in a home office and want something with a little more personality, don't be afraid to go bold. A rich jewel tone or a fun geometric pattern can turn a boring desk setup into something that actually inspires you. On the flip side, if this chair is going into a professional environment, you might want to stick with neutral tones that blend in nicely.
One more thing worth mentioning. Always buy more fabric than you think you'll need. A good rule of thumb is to add at least four to six inches beyond your measurements on every side. You can always trim the excess, but you can't stretch fabric that's too short. Better safe than sorry, as they say.
How to Reupholster an Office Chair Step by Step The Complete Process
Alright, here we go. This is the part you've been waiting for. Let's break down every single stage of the process so you can follow along without breaking a sweat.
Step 1: Disassemble Your Chair Carefully
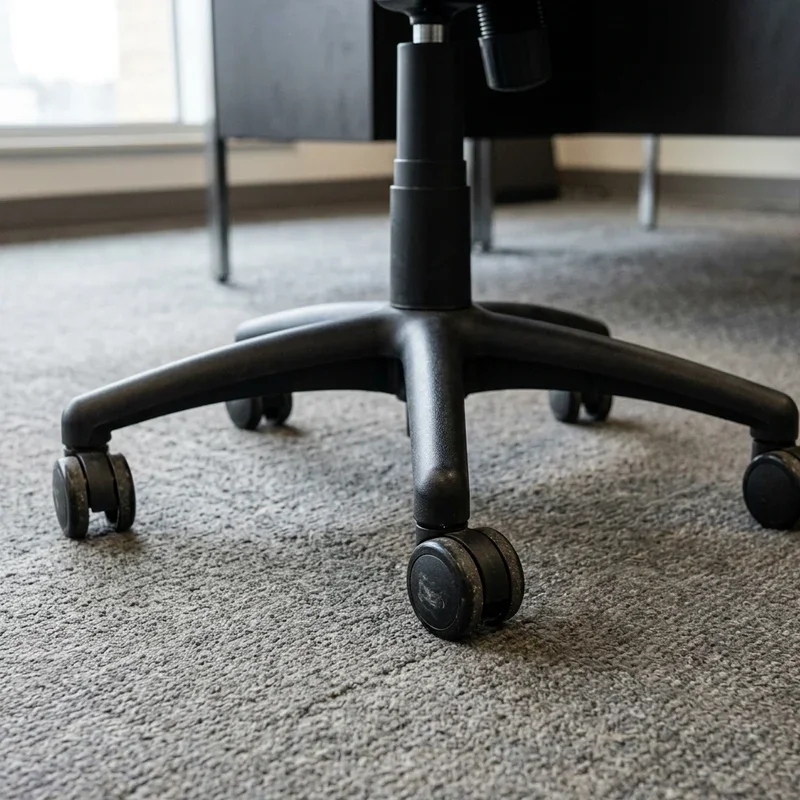
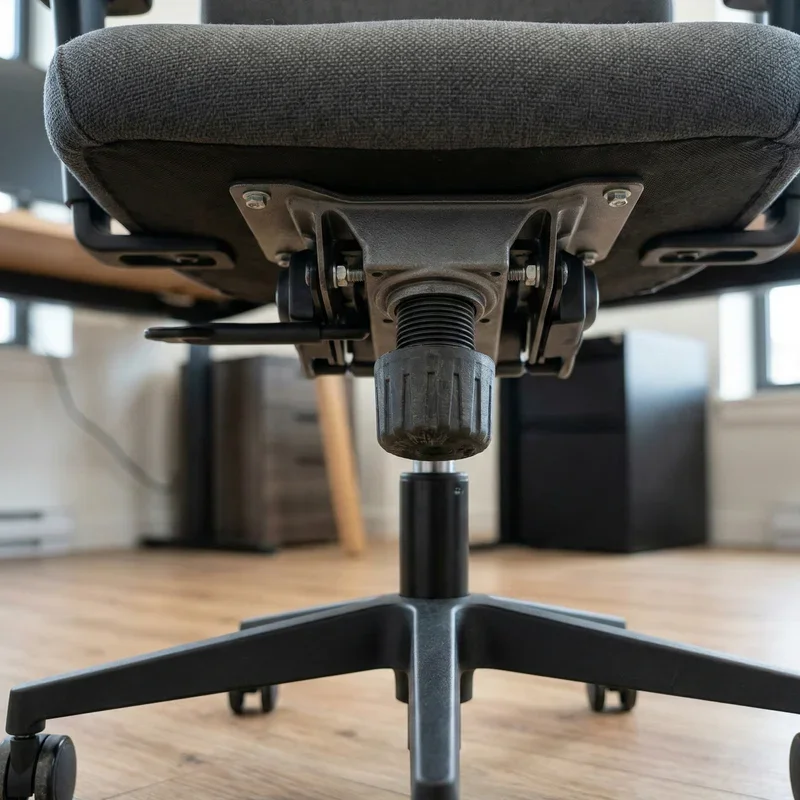
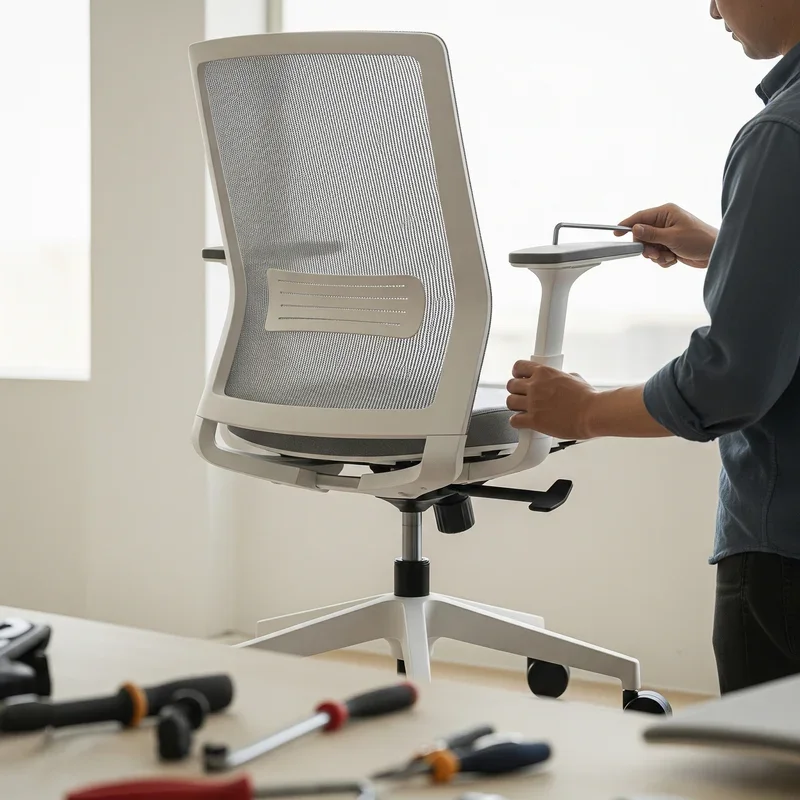
First things first, you need to take your chair apart. Flip it upside down and start removing the seat from the base. Most office chairs have a few bolts or screws holding everything together. Use your screwdriver or drill to take those out and set them aside somewhere safe. A small bowl or a zip lock bag works great for keeping hardware organized.
If your chair has a separate backrest, remove that too. The goal is to isolate the parts that need new fabric so you can work on them comfortably on a flat surface. Take a few photos with your phone as you disassemble things. These will come in handy later when you need to put everything back together and can't quite remember what went where.
Step 2: Remove the Old Fabric and Staples
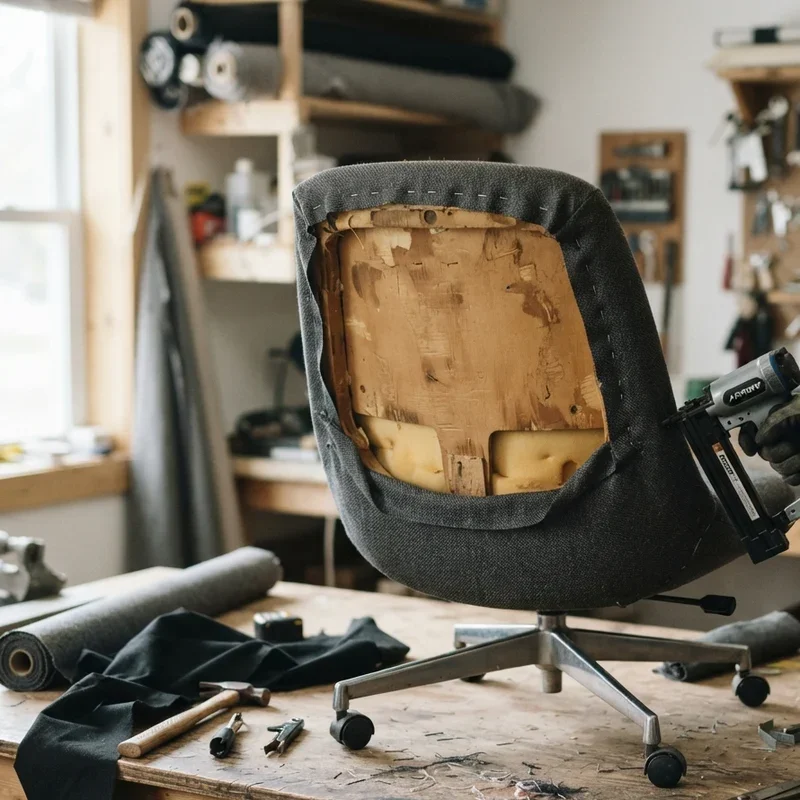
Now comes the slightly tedious part, but stick with it. Using your flathead screwdriver or staple remover, start prying out all the old staples holding the existing fabric in place. Work your way around the edges slowly and carefully. You don't want to gouge the wood or plastic underneath.
Once all the staples are out, peel the old fabric away. Don't toss it just yet though. You're going to use it as a template for cutting your new fabric, so set it aside for now.
While you've got the seat stripped down, take a good look at the foam padding underneath. If it's compressed, lumpy, or just not bouncing back the way it should, now's the perfect time to replace it. You can pick up new foam padding or batting at most craft stores, and it makes a world of difference in comfort.
Step 3: Cut Your New Fabric to Size
Lay your old fabric flat on top of your new material. This is your pattern. Trace around it with a marker or chalk, making sure to add a few extra inches on each side. Those extra inches give you the slack you need to pull the fabric tight and staple it down without it coming up short.
Cut along your traced lines with sharp fabric scissors. Dull scissors will give you jagged edges and make your life harder than it needs to be. If you're replacing the padding as well, cut that to size now too, using the seat base as your guide.
Step 4: Attach the New Padding
If you decided to add new foam or batting, lay it over the seat base and trim it so it fits neatly without hanging over the edges. Some people like to use a light spray adhesive to keep the padding from shifting around. It's not absolutely necessary, but it does help things stay put while you work.
For the best comfort, you can layer thin batting over a foam pad. The foam provides structure and support, while the batting adds a soft, cushioned feel on top. Think of it like building a mattress in miniature.
Step 5: Wrap and Staple the New Fabric
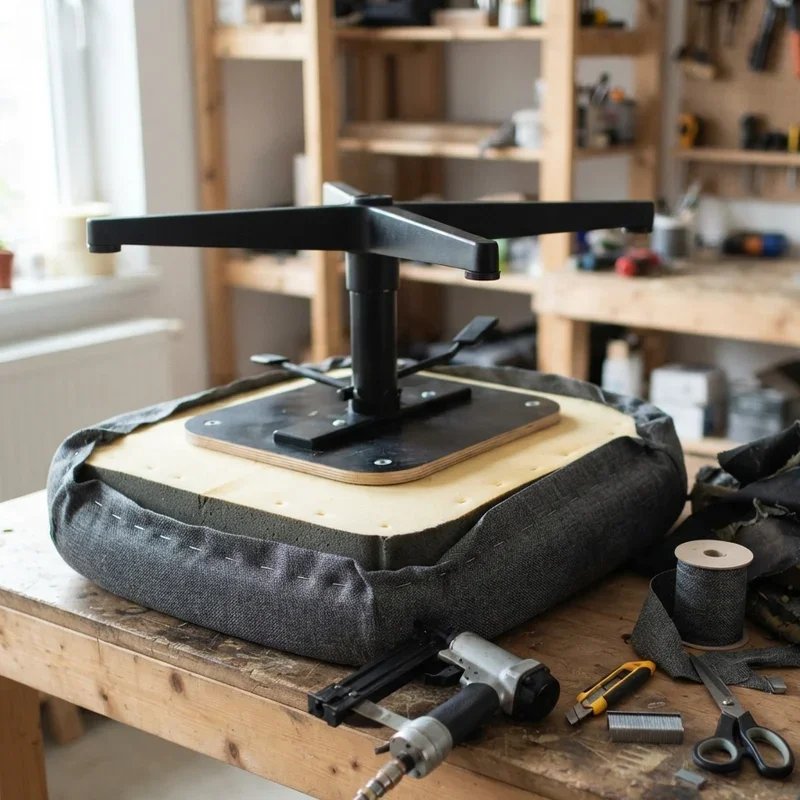
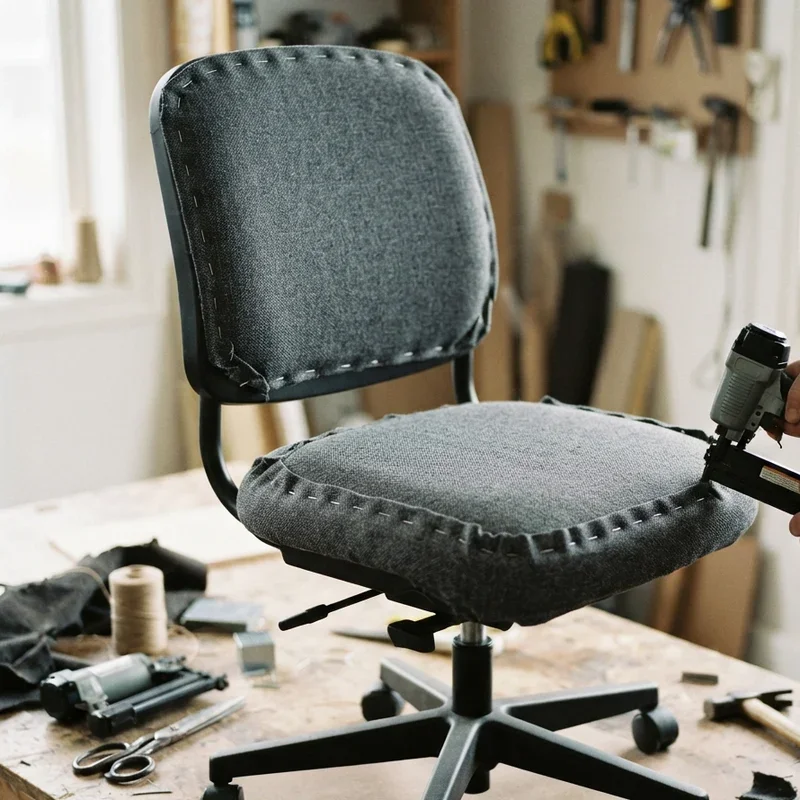
Here's where the magic happens. Lay your cut fabric face down on your workspace, then place the seat base on top of it, padding side down. Pull the fabric up and over one edge of the seat, and put in your first staple right in the center of that edge.
Now go to the opposite side. Pull the fabric taut and staple it in the center of that edge too. Repeat this process for the remaining two sides. This technique of working from opposite sides keeps the fabric even and prevents it from bunching up or pulling to one side.
Once you've got your four anchor staples in place, start filling in along each edge. Place staples about an inch apart, pulling the fabric snug as you go. The corners are the trickiest part. Fold them neatly, almost like you're wrapping a gift, and staple them down firmly. Take your time with this part. Neat corners make a huge difference in the final look.
Step 6: Repeat for the Backrest
If your chair has a separate upholstered backrest, follow the same process. Remove the old fabric, use it as a template, cut your new fabric, and staple it into place using the same opposite sides method.
Backrests can sometimes be a little trickier because of their shape. They might have curves or contours that require you to make small relief cuts in the fabric to get it to lie flat. Just make tiny snips where the fabric wants to bunch up, fold the flaps down, and staple them securely.
Step 7: Reassemble Your Chair
Time to put it all back together. This is where those photos you took earlier are going to save you some headaches. Reattach the seat to the base, screw the backrest back on, and make sure everything is lined up properly.
Give all the bolts and screws a good tightening. You don't want anything wobbling when you sit down for the first time. Once everything is reassembled, flip the chair right side up, step back, and admire your handiwork. You earned it.
Tips and Tricks for a Professional Looking Finish
Getting the basics right is important, but if you want your chair to look like it was done by a pro, these little extras go a long way.
1. Iron or steam your fabric before cutting and stapling. Wrinkles in the fabric will show up in the finished product and they're a lot harder to fix after the fact 2. Use a fabric protector spray once you're done. It helps repel stains and spills, which is especially handy if you tend to eat lunch at your desk 3. Consider adding a piece of cambric or dust cover fabric to the underside of the seat. It hides the staples and raw edges, giving the whole thing a polished, finished look 4. If your chair has armrests with padding, you can reupholster those too using the same basic technique 5. Match your thread color to your fabric if any hand stitching is needed around seams or edges
Common Mistakes to Avoid During the Process
Even seasoned DIYers trip up sometimes. Here are some pitfalls to watch out for so you don't have to learn the hard way.
Not pulling the fabric tight enough is probably the most common mistake. Loose fabric wrinkles and shifts over time, and it looks sloppy from day one. You want the fabric to be snug but not so tight that it's distorting the padding underneath.
Using the wrong type of staples is another easy mistake to make. Too short and they won't hold. Too long and they'll poke through the other side. Check your staple gun's specifications and match them to the thickness of your seat base.
Skipping the corner folds is tempting when you're eager to finish up, but messy corners are the fastest way to make an otherwise nice job look amateurish. Take those extra two minutes to fold them properly.
And finally, don't forget to check for comfort after reassembly. Sit in the chair, adjust the height, roll around a bit. Make sure nothing feels off before you call the project complete.
How Much Money Can You Actually Save?
Let's talk numbers for a moment because this is where the project really sells itself. A basic office chair replacement runs anywhere from one hundred to three hundred dollars for something decent. Higher end ergonomic models can easily set you back five hundred to a thousand dollars or more.
By contrast, a reupholstery project typically costs between twenty and sixty dollars in materials. That includes fabric, foam padding if needed, staples, and maybe a can of spray adhesive. Even if you need to buy a staple gun, you're still looking at well under a hundred dollars total, and you'll have that staple gun for future projects too.
The math speaks for itself. You're saving hundreds of dollars while getting a chair that looks and feels custom made. That's what we call a win win situation.
When Reupholstering Might Not Be the Right Call
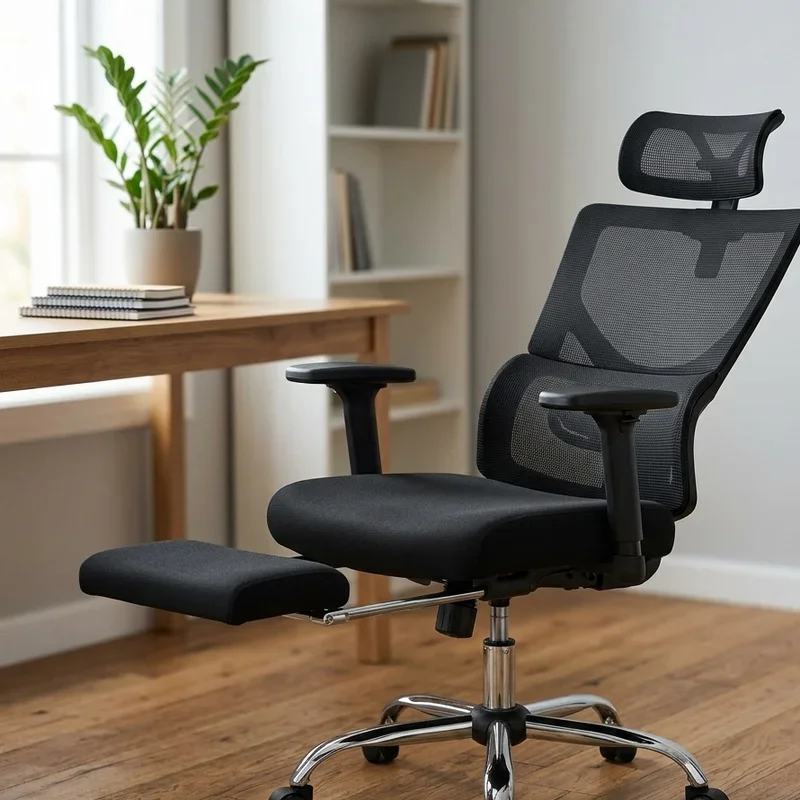
In the interest of fairness, it's worth mentioning that reupholstering isn't always the best option. If the chair's frame is cracked, the gas cylinder is shot, or the adjustment mechanisms are broken, no amount of new fabric is going to fix those problems. In those cases, you're genuinely better off investing in a new chair.
Similarly, if the chair is a cheap model that wasn't very comfortable to begin with, putting time and money into reupholstering it might not give you the return you're hoping for. Use your judgment here. If the chair was good once and just needs a cosmetic refresh, go for it. If it was always mediocre, it might be time to move on.
Conclusion
Learning how to reupholster an office chair step by step is a practical skill that pays for itself almost immediately. With basic tools, a few yards of fabric, and a free afternoon, you can transform a beat up chair into something that looks and feels brand new. It's budget friendly, eco conscious, and honestly a pretty fun way to spend a Saturday. So before you click that buy button on a replacement, give your old chair one more chance.
Frequently Asked Questions
1.How long does it take to reupholster an office chair?
Most people can finish the entire project in about two to four hours.
2.What type of fabric works best for office chair reupholstery?
Durable polyester, microfiber, or upholstery grade cotton blends work best for daily use.
3.Do I need sewing skills to reupholster an office chair?
No sewing is required since a staple gun handles all the fabric attachment.
4.Can I reupholster an office chair with leather or faux leather?
Yes, but leather requires more careful stretching and may need specialized adhesive too.
5.Is it cheaper to reupholster or buy a new office chair?
Reupholstering costs around twenty to sixty dollars, far less than buying a replacement chair.
Stay up to date with our latest ideas!