30-Yard Dumpster Rental for Office Cleanouts: Cubicles, Fixtures, and Bulky Volume
Learn the key differences between standard and deep cleaning, and discover how to tell which cleaning service your home actually needs based on its condition.
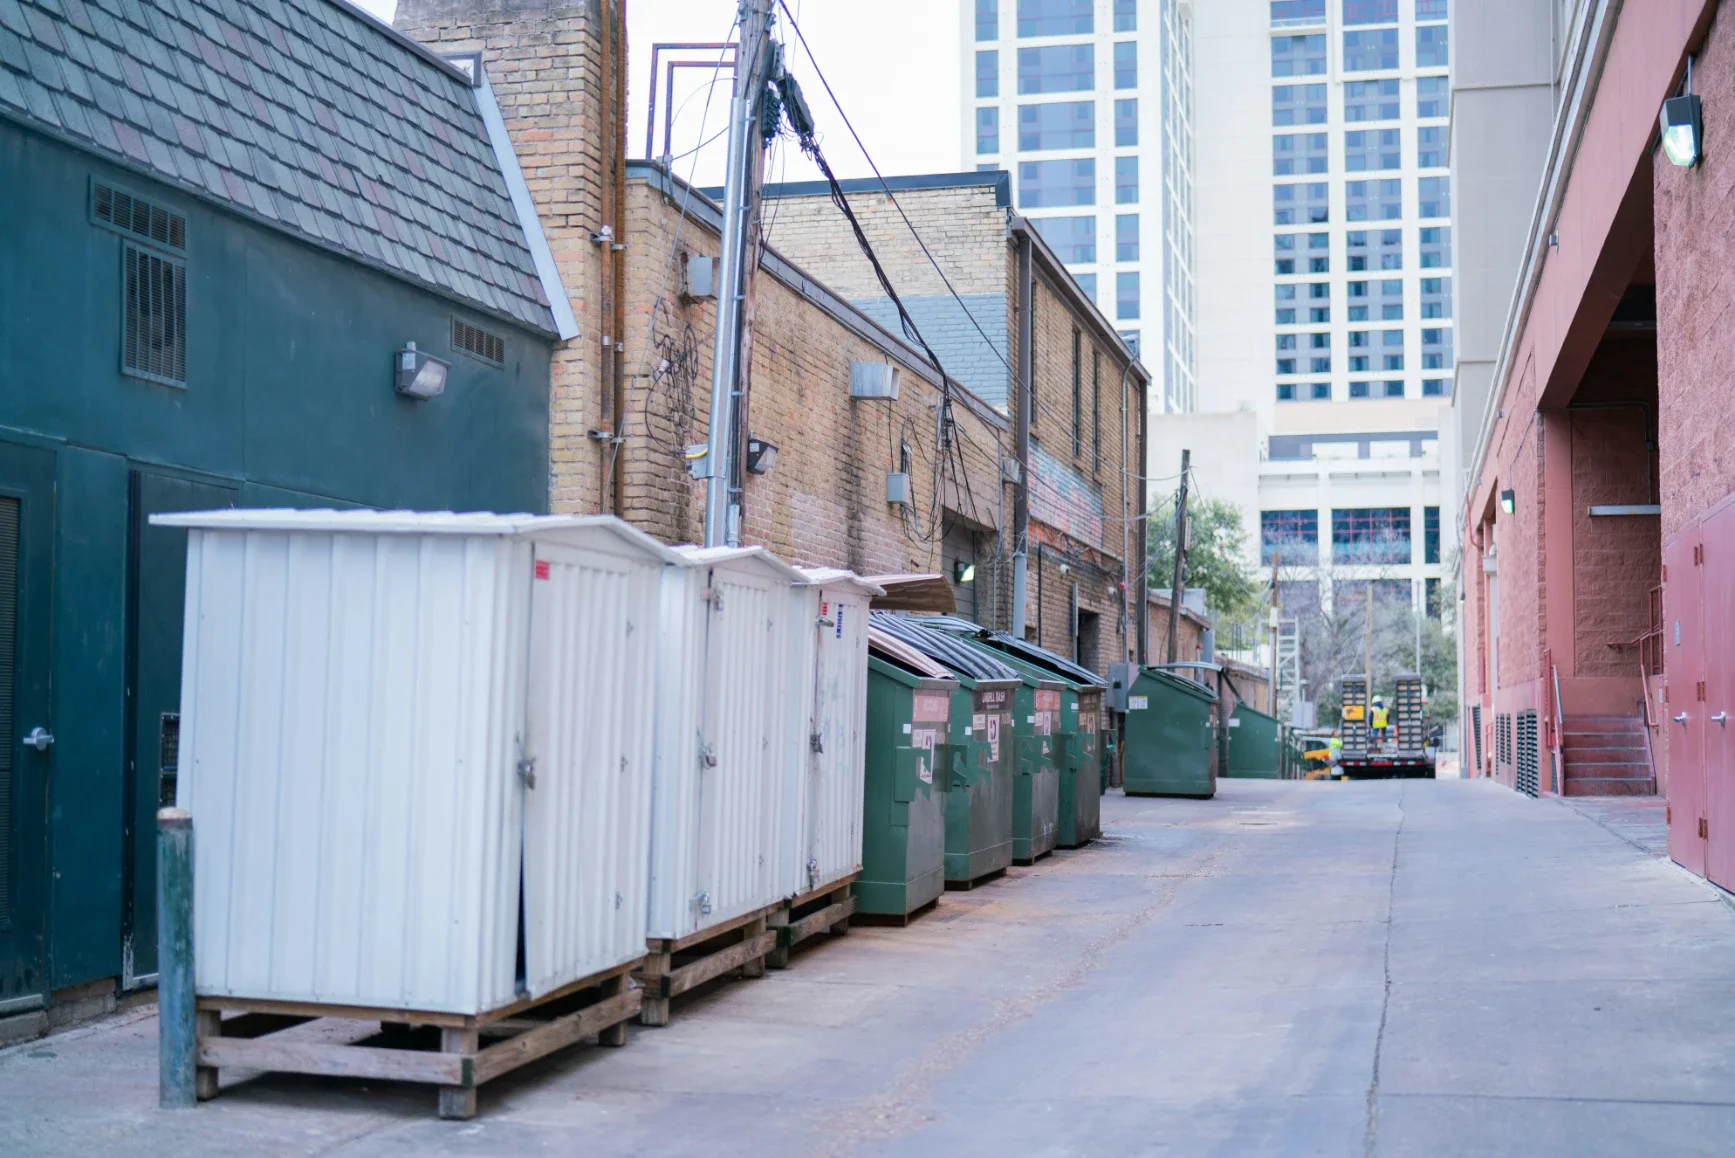
Office cleanouts look simple on paper. In reality, they are one of the easiest projects to underestimate, especially when you are dealing with modular cubicles, old casework, breakroom fixtures, and years of “we might need this later” storage. If you want the job to move fast without turning hallways and loading docks into a debris maze, a 30-yard dumpster rental is often the sweet spot for handling bulky volume while keeping logistics manageable.
This post breaks down what actually goes into an office cleanout, how to plan the tear-out, what typically fits in a 30-Yard roll-off container, and the practical steps that keep the project safe, compliant, and on schedule.
Why office cleanouts feel bigger than they look
Office debris is lightweight compared to concrete or roofing shingles, but it is awkward. That’s the difference. Cubicle panels are tall and springy. Desks and credenzas are wide. File cabinets are dense. Fixtures have mixed materials. Even when the total tonnage is not extreme, the volume stacks up quickly.
A typical office cleanout can include:
Cubicle systems: panels, posts, tracks, connectors
Desks, tables, shelving, and laminate casework
Chairs and soft seating
Breakroom items: cabinets, counters, sinks, small appliances
Ceiling grid pieces and light fixtures from renovations
Carpet tiles, padding, and baseboard
Blinds, whiteboards, and wall-mounted accessories
Pallets, packaging, and miscellaneous storage-room “mystery boxes”
The challenge is keeping all of that moving out of the building without blocking exits, elevators, or tenant access, and without forcing your crew to “touch” the same pile three times.
Why 30-Yard is a common fit for office cleanouts
A 30-Yard roll-off container is popular for medium-to-large cleanouts because it balances two competing needs:
Capacity for bulky items (cubicle panels, furniture, casework)
Practical placement (it usually fits on site without taking over the entire loading area)
For many office cleanouts, 10-Yard and 20-Yard containers can fill too quickly once the cubicle panels start going in. A 40-Yard can be a great option too, but it may be overkill, and placement can be tougher in tight lots or urban loading zones.
A 30-Yard container is often the “one box does most of the job” choice, especially when you break down materials properly and load with a plan.
Start with a cleanout plan, not a dumpster drop
Before anyone picks up a drill or starts yanking panels, take 30 minutes to outline the workflow. This is what separates a smooth cleanout from the all-day traffic jam.
1) Walk the space and categorize what’s leaving
Do a quick inventory and sort everything into four buckets:
Reuse/relocate: items staying in the building or moving to another suite
Donate/sell: furniture in good condition (coordinate pickup windows)
Recycle: metal, electronics, cardboard (if you are separating)
Dispose: mixed debris headed for the roll-off
Even if you do not have a formal recycling plan, just identifying e-waste and regulated items up front prevents last-minute surprises.
2) Identify constraints
Office cleanouts usually come with at least one of these:
Limited loading dock hours
Elevator reservations
“No debris in common areas” rules
Sensitive neighbors (medical, legal, call centers)
Tight parking lots or fire lanes
After-hours work requirements
Your disposal strategy should match the constraints. If the dock is only available 7–9 a.m., you need staging zones and a steady flow, not a mountain of material.
3) Decide whether you need one container or multiple hauls
If you expect a lot of furniture and panels, one 30-Yard may work. If you are gutting carpet, casework, and fixtures across multiple suites, you might plan for a second haul or a swap.
A good rule of thumb: if you are already wondering whether one container is enough, it usually is not. Planning for a swap is cheaper than paying crews to wait around for space.
Breaking down cubicles and fixtures without wasting container space
Cubicles are notorious for “air.” The panels pack poorly unless you prep them.
Cubicles: do this for better loading
Remove glass and fragile components first and set aside if they’re being reused.
Separate metal frames when possible. Metal can often be recycled or at least stacked tighter.
Nest panels: stand them on edge and alternate directions so they lock together.
Bundle tracks and posts so they do not spear voids in the load.
Keep hardware in buckets to avoid screws and brackets becoming a slip hazard.
Desks and casework: reduce bulk
Remove drawers and doors when feasible.
Break down modular pieces instead of tossing whole units.
Flatten what can be flattened. A stack of disassembled desktops loads far cleaner than a pile of L-shaped desks.
Fixtures: be cautious and verify what’s regulated
Office fixtures can hide surprises. For example:
Some older lighting components may require special handling.
Electronics and batteries often have separate disposal rules.
Anything containing regulated material should be handled according to local requirements.
Use “regulated waste” language in your planning, and confirm what needs a separate stream before you start. If you are unsure, pause and verify. It is faster than fixing a rejected load later.
What should not go in a roll-off container during an office cleanout
This varies by area and facility rules, but common “do not toss” items include:
Computers, monitors, printers, and other e-waste (often special handling)
Batteries (lithium batteries in particular)
Fluorescent lamps and certain ballasts
Chemicals from maintenance closets (cleaners, solvents, paints)
Pressurized cylinders (some cleaning and kitchen items)
Anything containing regulated material
If your cleanout includes a breakroom or janitor closet, check it early. Those closets are where projects get tripped up.
Weight matters, even when debris feels “light”
Office debris is mostly volume, but there are a few heavy offenders that can push weight unexpectedly:
Full file cabinets (especially lateral cabinets)
Books and paper storage
Old servers, metal equipment racks
Flooring underlayment or multiple layers of carpet tile adhesive
Countertops, stone surfaces in kitchens, or dense casework
If you are clearing a records room, do not wait until everything is in the container to think about weight. Plan a paper strategy. Shredding and recycling might be the better route, and it keeps the roll-off capacity for the awkward bulky stuff.
Placement and access: the part DIY and small crews miss
Where you put the container affects labor more than the container size does. You can lose hours to a bad placement choice.
Checklist for a good placement spot
Clear path for the truck to back in and out
No low branches, power lines, or building overhangs
Not blocking fire lanes, hydrants, or emergency exits
Close enough to reduce carrying distance, but not so close it blocks doors
Stable surface that can handle weight without rutting or cracking
If the container goes on a street or in a shared lot, permit rules can apply. Requirements vary by municipality and property management. If you cannot confirm the local rule, do not guess. Get it verified before delivery day.
Protect surfaces when needed
For asphalt and decorative pavers, surface protection matters. Plywood can help distribute weight and reduce scuffs. It also signals to property management that you are treating the site responsibly.
Staging zones: how to keep the building usable while you work
For office cleanouts, the cleanest approach is usually a two-zone system:
Interior staging zone near elevators or exitsKeep it small and controlled. The goal is quick transfer, not long-term storage.
Exterior staging zone near the containerThis is where you break down panels, bundle metal, and prep awkward pieces before loading.
This prevents hallways from becoming debris storage, which is a common source of complaints and stop-work orders in occupied buildings.
Loading strategy for a 30-Yard container (so you don’t “run out of room” early)
A 30-Yard container rewards a little strategy.
Load like this:
Start with flat pieces: broken-down desks, shelving, casework panels
Stand and stack cubicle panels on edge, nested tightly along the sides
Fill voids with small items: bagged trash, loose debris, small wood pieces
Keep metal and long pieces aligned, not crosswise
Avoid creating bridges: a few long panels laid across the top can trap air underneath
Safety note:
Never load above the container’s fill line. Overfilled containers can create transport issues and can force you to unload and re-pack, which wastes time and increases injury risk.
Timeline: what a “smooth” office cleanout schedule looks like
Here’s a practical schedule for a typical multi-room office cleanout:
Day 1:
Confirm disposal rules and regulated waste items
Pull e-waste and set it aside for proper handling
Start disassembly and stage materials
Day 2:
Full crew push on cubicles and furniture removal
Continuous loading to keep staging zones clear
Day 3 (as needed):
Fixtures, carpets, final sweep
Pickup or swap if the container is nearing capacity
Even small DIY groups benefit from this structure. It keeps you from hitting the “everything is everywhere” wall that slows projects to a crawl.
Quick “should I choose 30-Yard?” sanity check
A 30-Yard container is usually a strong choice if you have:
Multiple rooms of furniture and cubicles
Bulky items that do not compact well
Limited time windows and you need fewer trips
A cleanout that is more volume than weight
If your cleanout is mostly paper, books, or dense materials, you may need to pay closer attention to weight and consider additional disposal streams.
Final takeaway
Office cleanouts are a logistics project disguised as a demolition project. The debris is awkward, the rules are tighter, and the building often still needs to function while you work. The reason a 30-Yard roll-off is so commonly used is simple: it holds a lot of bulky volume without becoming impossible to place or manage.
Plan the workflow, separate regulated items early, break down cubicles and casework to eliminate wasted space, and load intentionally. Do those things, and your cleanout moves faster, stays safer, and finishes with fewer surprises.
Stay up to date with our latest ideas!